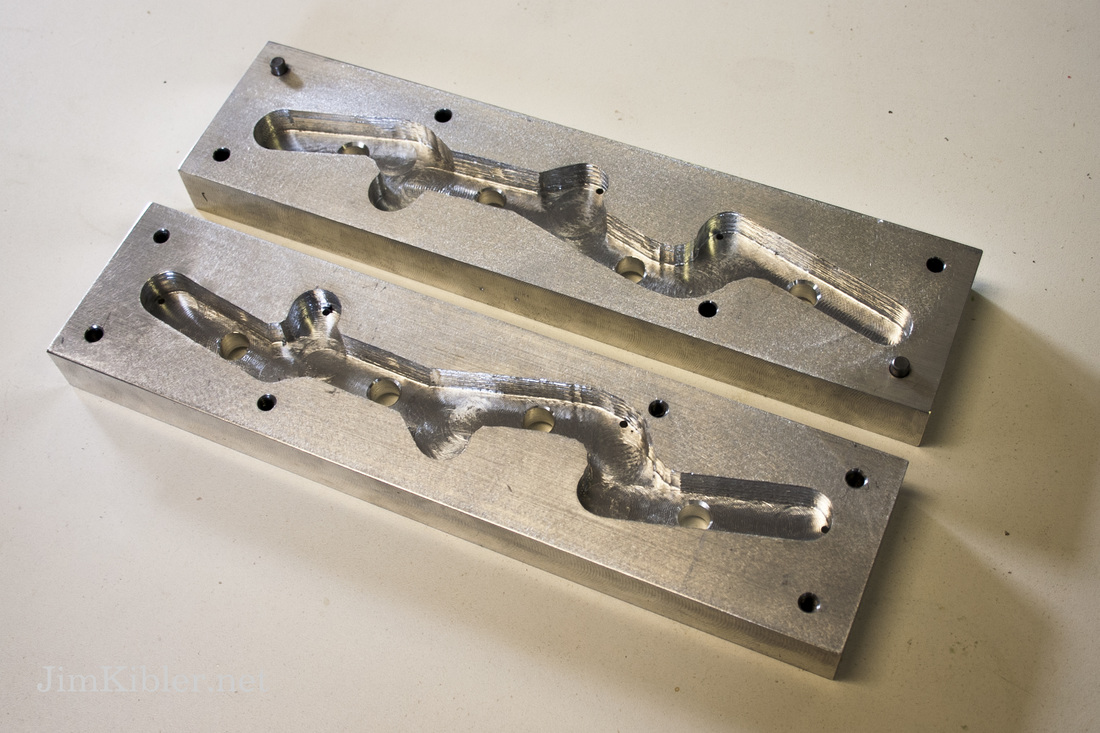
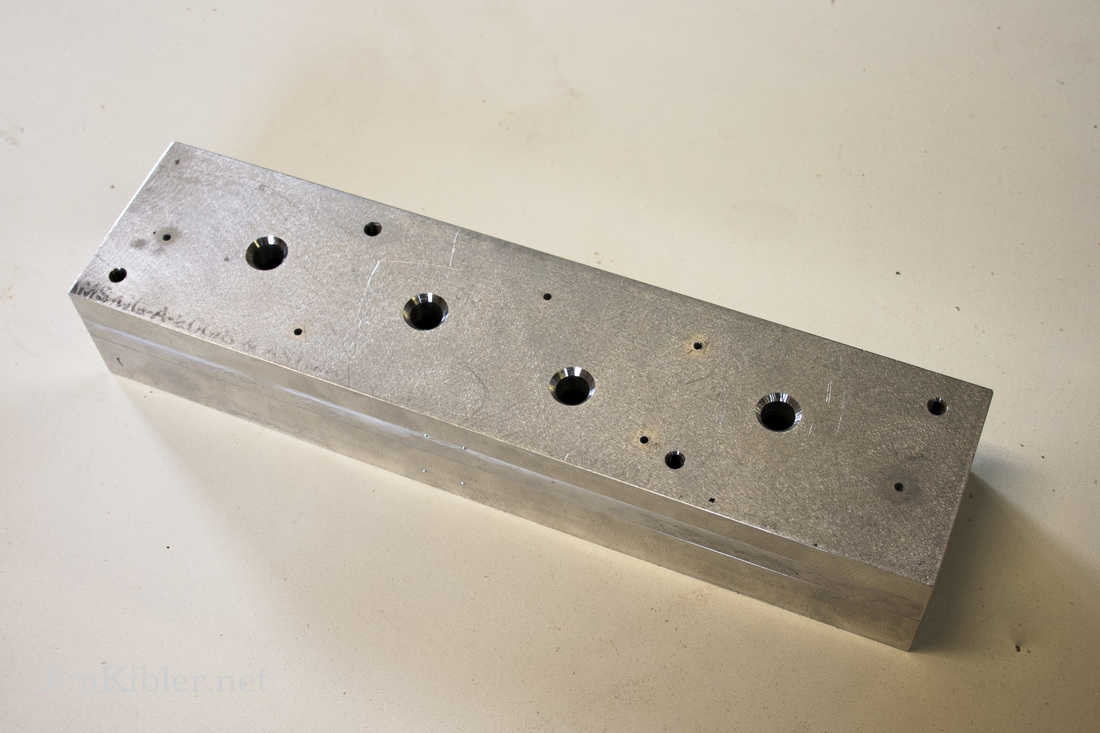
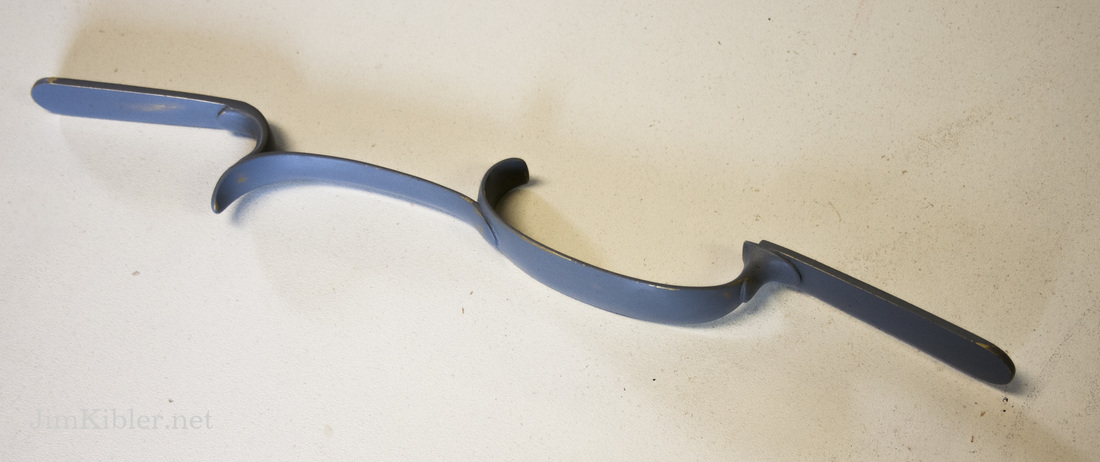
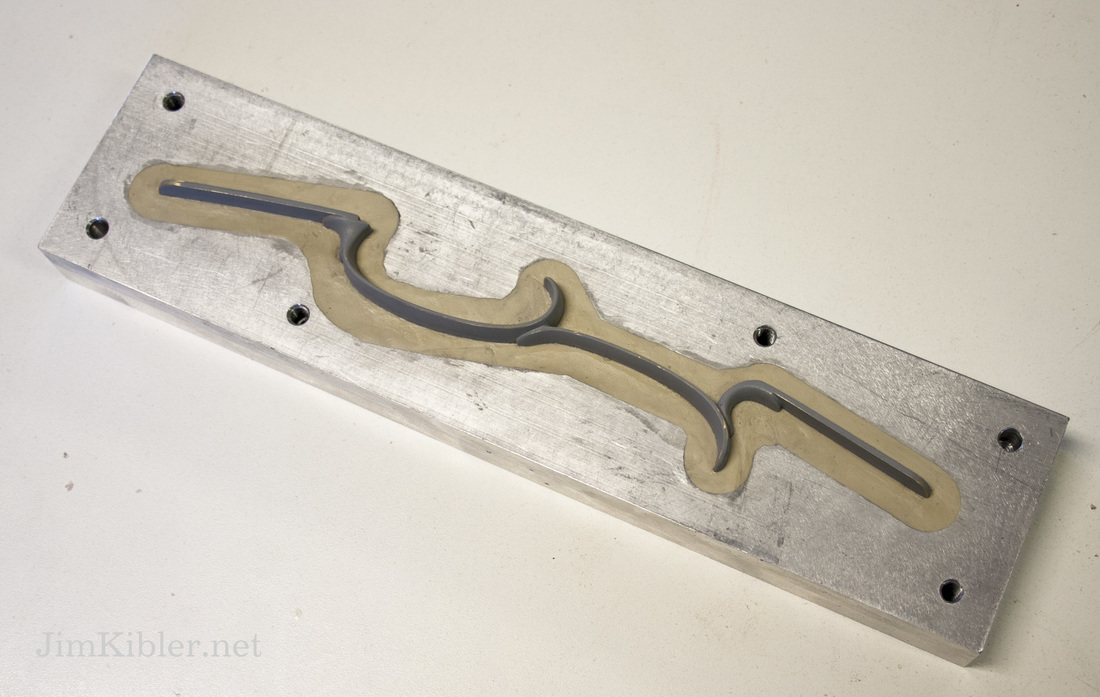
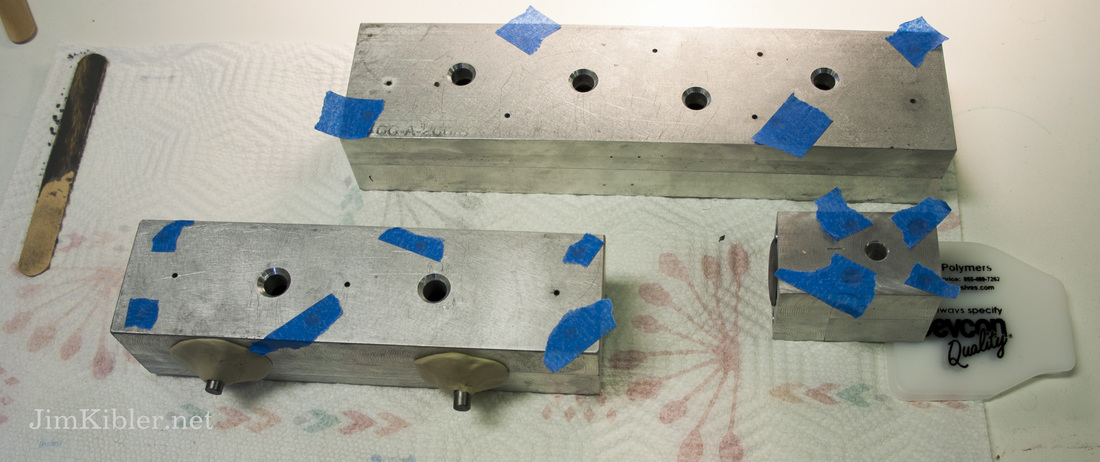
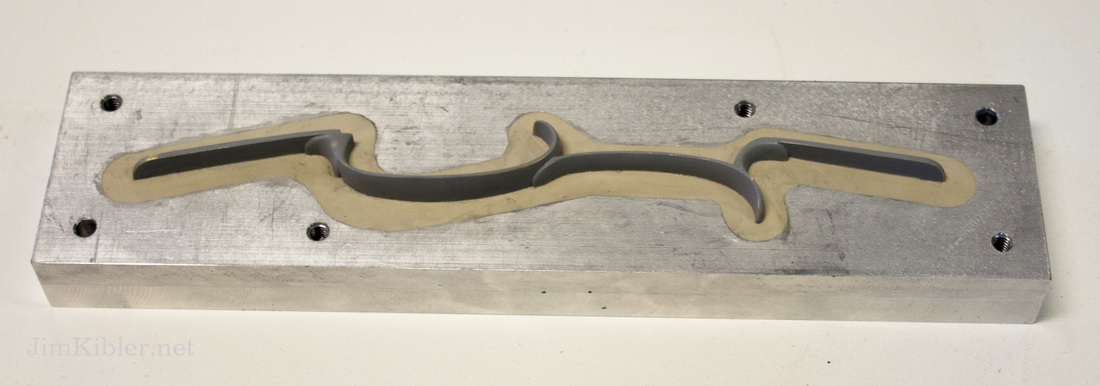
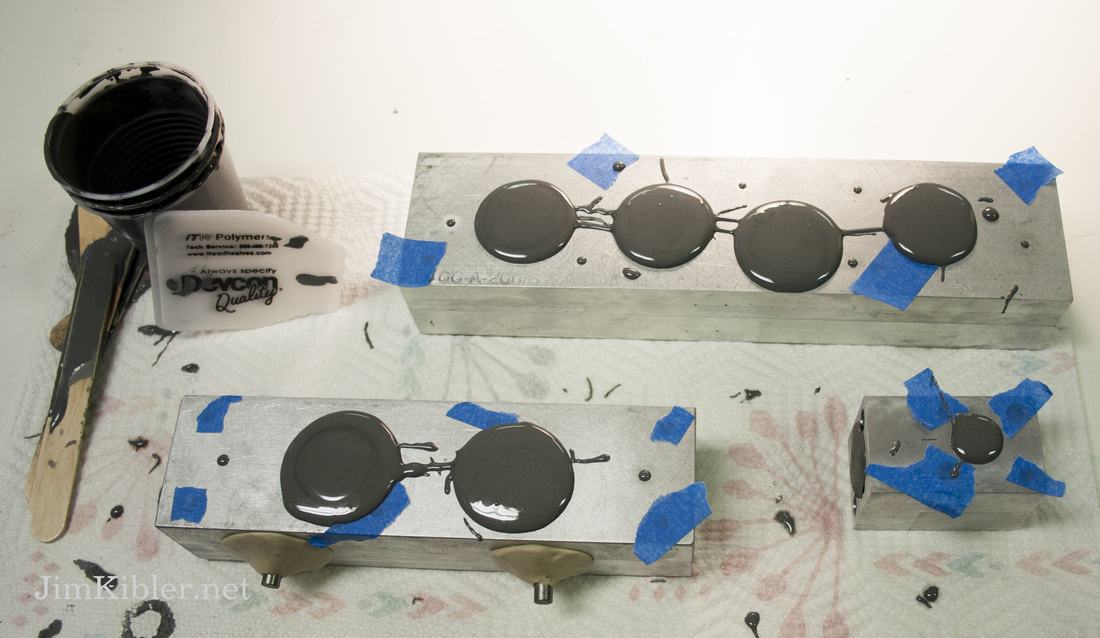
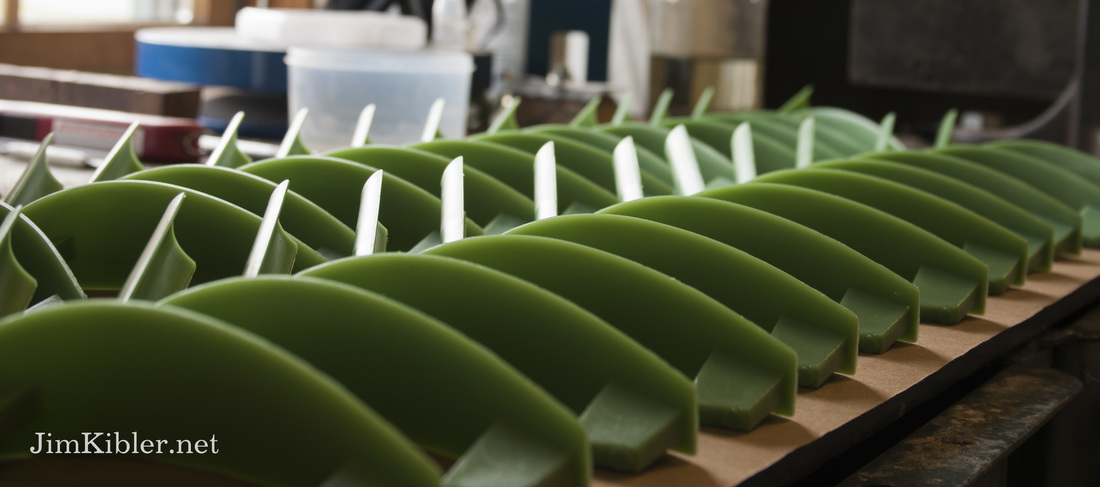
Home StretchI have been working very hard and making good progress over the last month to pull all of the remaining loose ends together on the Southern Mountain Rifle Kit. Since this is a project several years in development, I'm very happy to finally be able to begin production of these kits. All systems are nearly in place. Making Aluminum Molds for Investment CastingIn order to make large numbers of precise investment castings, aluminum shelled, epoxy filled molds have been made. These take considerable time to make but are a requirement. A quick overview is as follows: Molds must be designed such that the injected wax can be removed. All pieces are dowel pinned together for repeatable alignment. Oversize cavities are cut to accept the master. The master is then orientated properly in the mold and half is carefully bedded in putty. The remaining part of the mold is placed over the part and epoxy is poured through previously drilled holes. After curing, the mold is opened up, putty is removed, the mold is re-assembled and the remaining portion of the mold is poured.
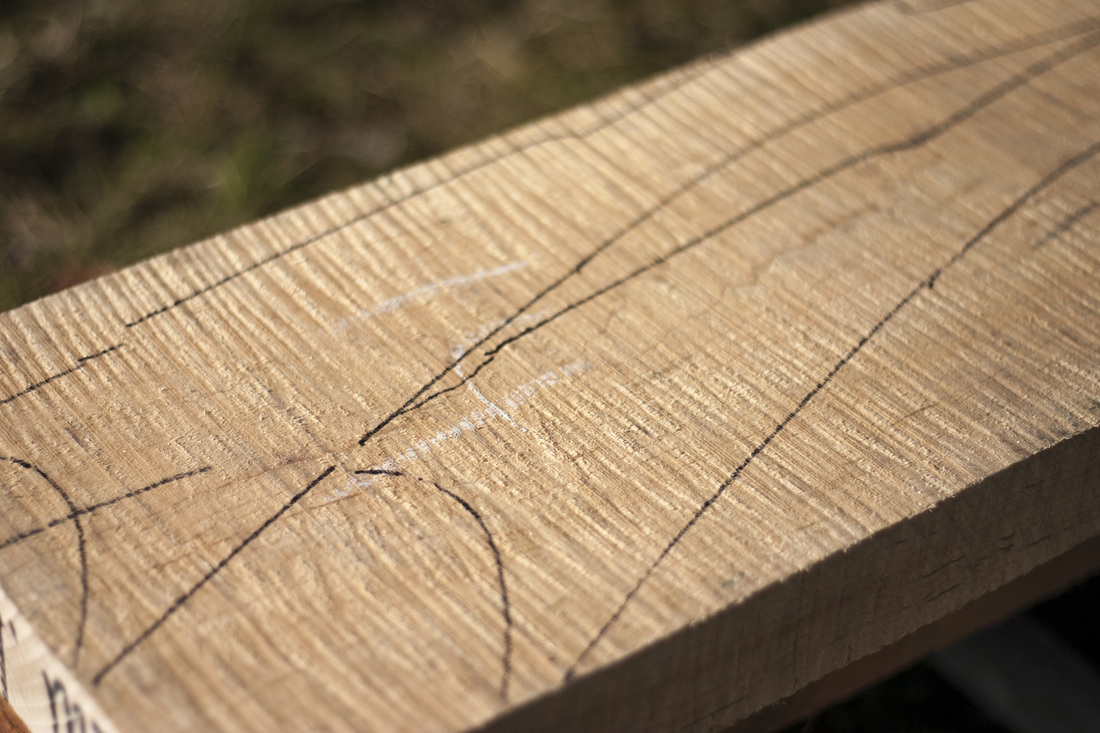
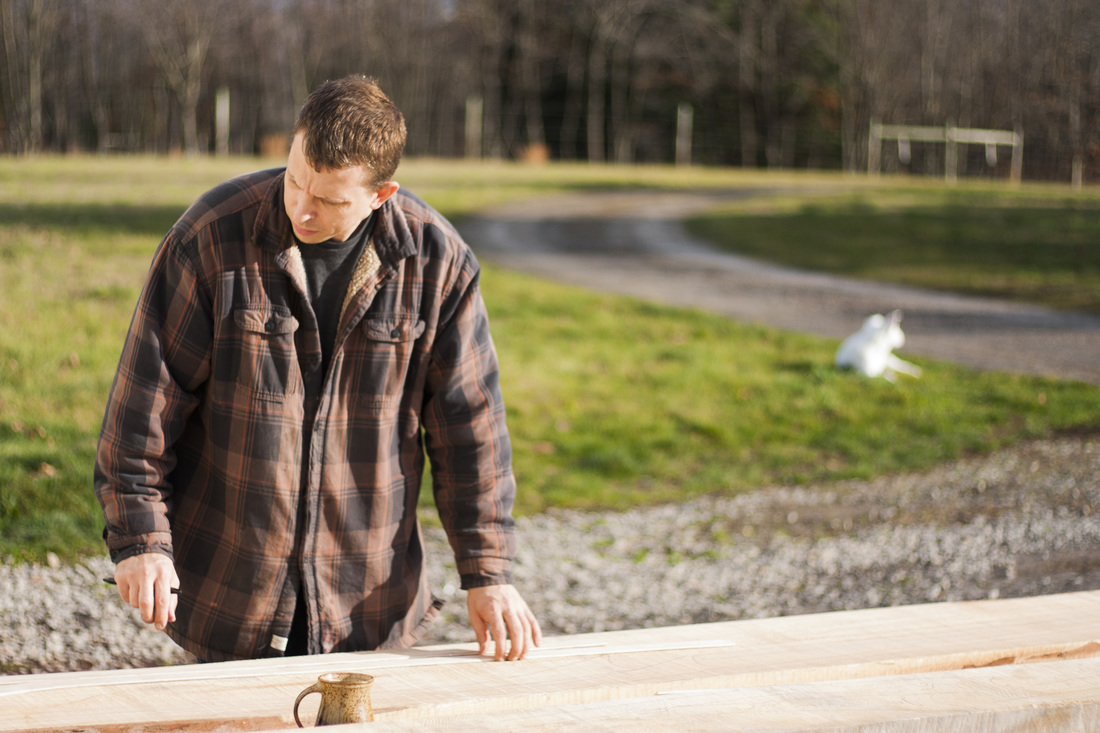
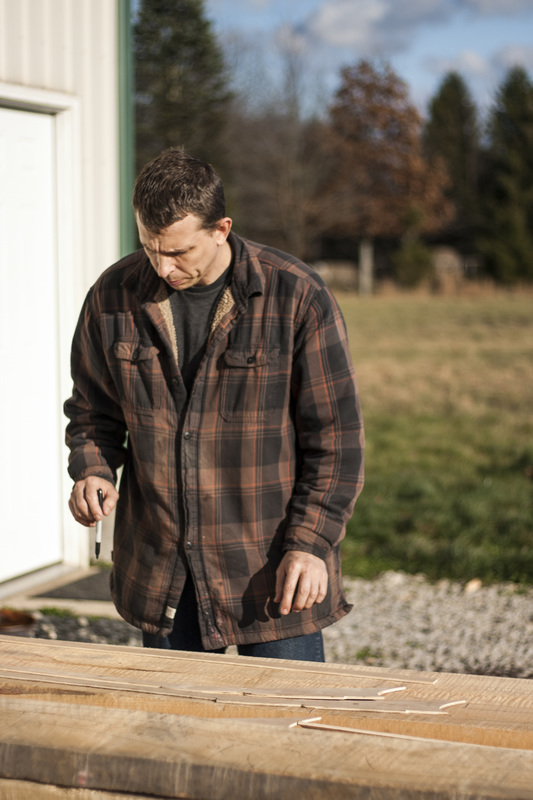
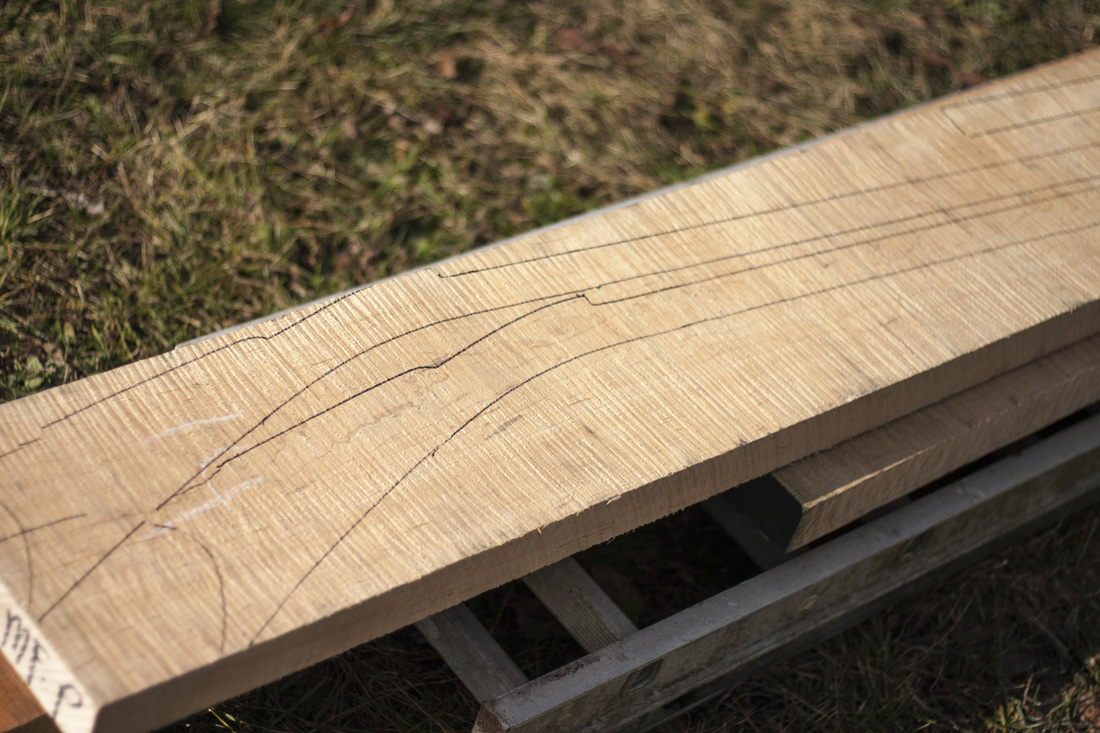
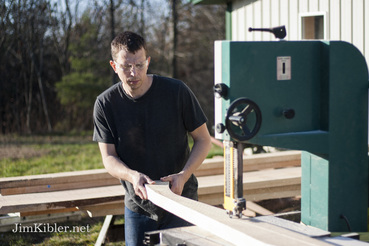
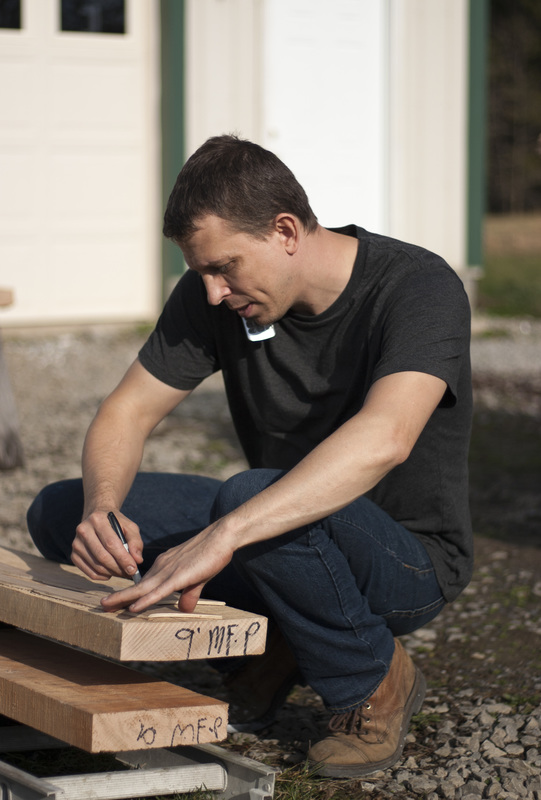
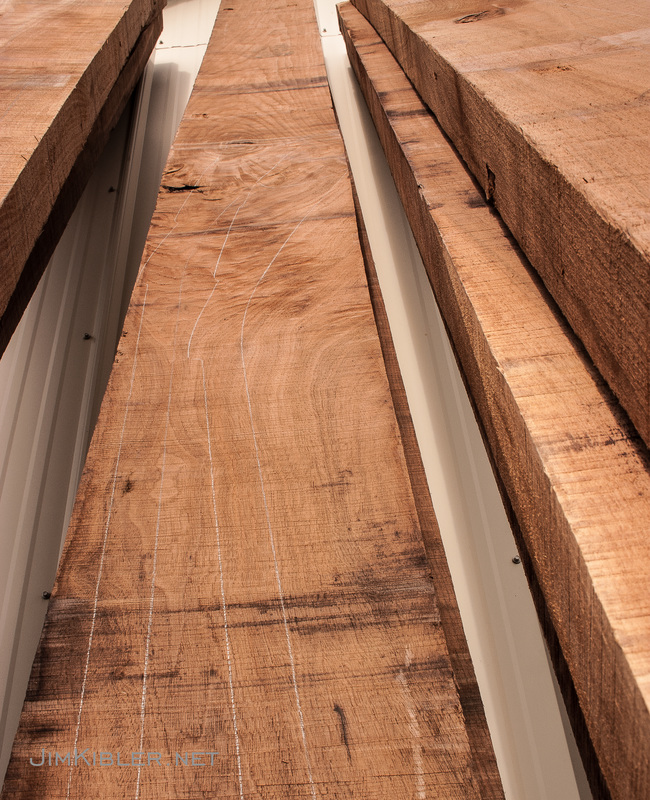
Cutting out Stock BlanksBefore Christmas, Katherine and I made a trip to Pennsylvania for some lumber. This place was in the mountains surrounded by lots of timber and had a great selection. Katherine and I went through every board that met the minimum size standards to hand select for quality and figure. We came away very happy with what we will be able to offer for kits. We loaded up the truck and hauled it home and the next day were lucky with some nice weather for blanking it out. To keep the dust out of the shop, I rolled the bandsaw out into the drive way.
Now, we have stocks blanked out and are now able to offer a double upgrade for extra fancy maple for $150. If I were selling these blanks separately, I would be charging much more for them, but I want to be able to offer beautiful wood as part of the kit. We worked into the early evening. Frequently Asked Questions A lot of phone calls I have been getting have revolved around whether or not this is something a beginner can do. It absolutely is. This is by far the easiest kit out there and I have been making sure, every step of the way, that I am doing as much of the work as possible to keep it simple and straightforward for the buyer. Also, I am only a phone call or email away if someone does run into questions. Also, I will include some general instructions in the kit in order to help get you on the right track. There has been a fantastic response regarding the kit gun project and I am so appreciative of all of the support that I have received. I have taken a lot of orders. As of today, the expected delivery of new orders is early May. Some people have been concerned about the length of the rifle. Although it is 46", it is a swamped barrel which flares at the ends and it is nicely balanced and handles well. I have addressed some other questions on the FAQ page for kit guns and will add to that as more questions come. Kit Gun Locks Sold Through Flintlocks, LLCAll of the Chambers locks for the kits will now be purchased through a separate company, Flintlocks, LLC. This company is in house so the lock will be able to be shipped together with the rest of the kit but will be invoiced separately and payment will need to be directed to Flintlocks, LLC. The website will be updated with this new information shortly. I am very excited to be so close to this project being complete and shipping the kits next month. As always, feel free to give me a call at 330-223-1775 or my cell at 330-341-0675 or shoot me an email [email protected].
Thanks, Jim
Comments
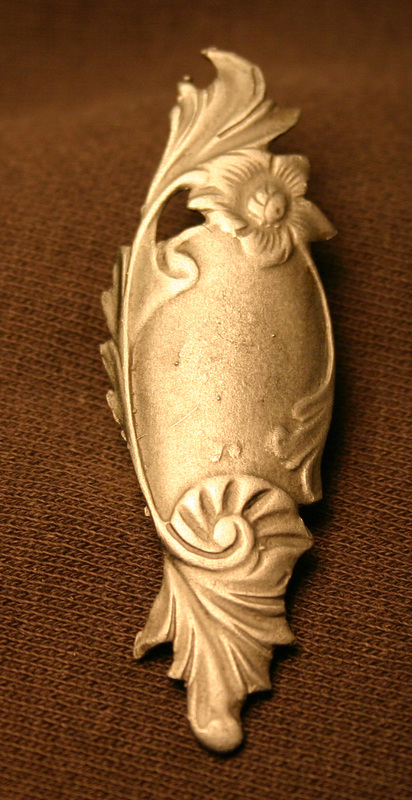
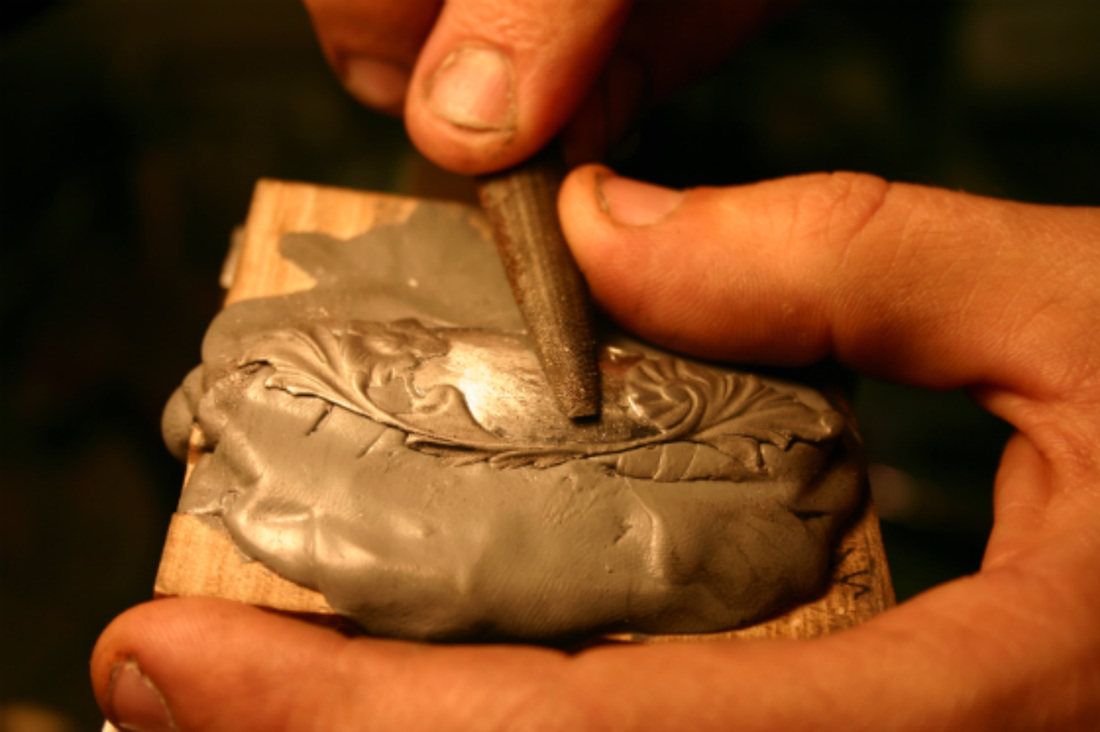
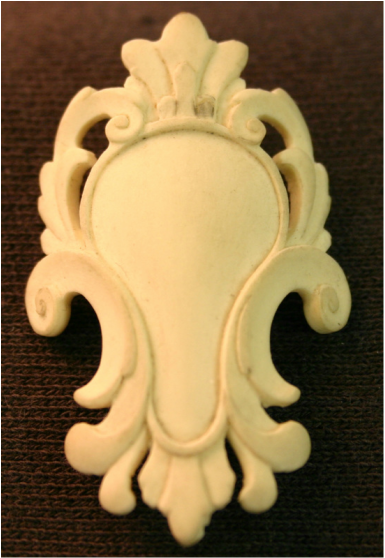
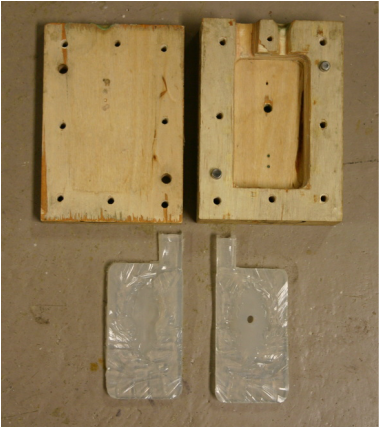
Hello! For those of you I didn't get to meet in August at the CLA show in Lexington, I'm Jim's girlfriend, Katherine. I do my best to help out in the shop and try to soak up as much of his knowledge as I can. Jim has been busy doing stuff that in his words is "not so interesting to write about" so he has asked me to share what I have been doing in the shop--making silicone molds for castings. This is the basic process we used for the Dolep lock castings and for the thumb piece on the burl fowler. It has a lot of applications, is not very difficult, and is actually kinda fun. Most recently, I have been using silicone molds to get ready to make sterling silver necklace pendants out of thumb pieces, including Jim's super gorgeous thumb piece from the last blog post. Since I first learned about the artistic niche of rifle making, I wanted to try to find a way to participate as well as tell others about it. I can't exactly carry one of these rifles around with me to enjoy as well as to show people how amazing this craft is. I think some of the rococo designs are perfect for conversation-starting, gorgeous silver jewelry. Since I want to capture beautiful work that is already done, mold making is the way to go. Obviously, this same process applies to reproducing other small metal parts for use on a rifle Step 1: Prepare the master. Silicone does a freakishly good job of capturing every detail and goes into every nook and cranny. Take time up front to clean and shape your master as much as possible before pouring the mold or else you will have to clean it up eventually anyway. And if you plan on making more than one casting, you will have will have to do the same work over, and over and over again.
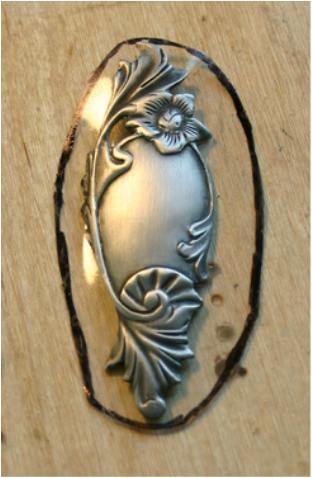
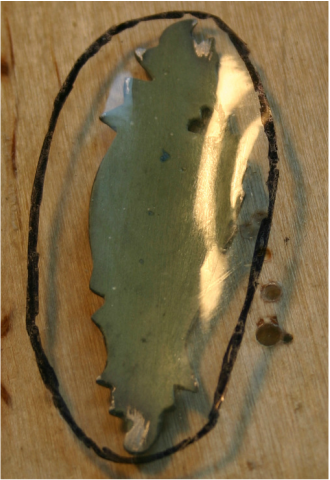
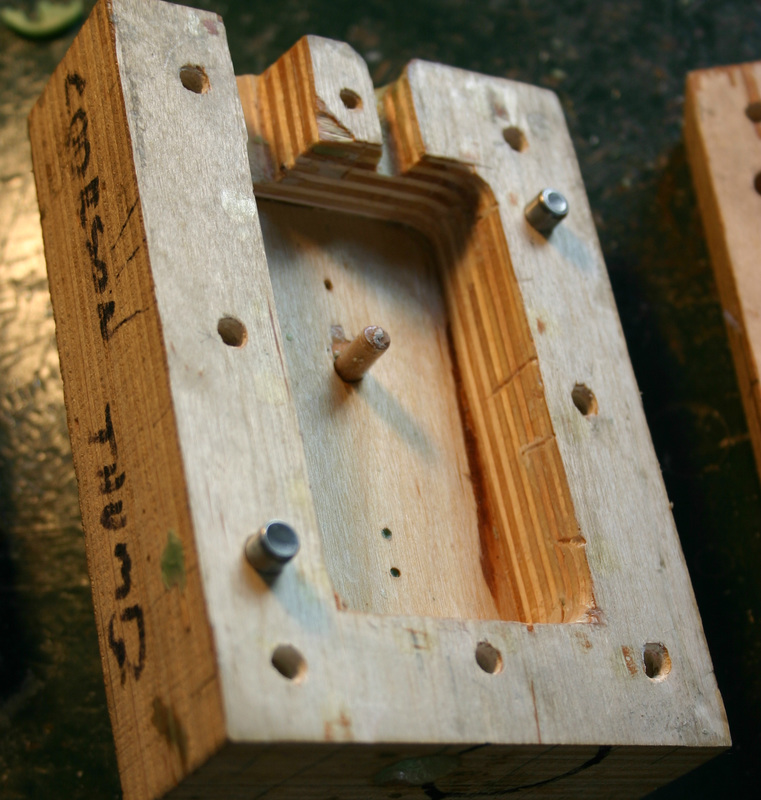
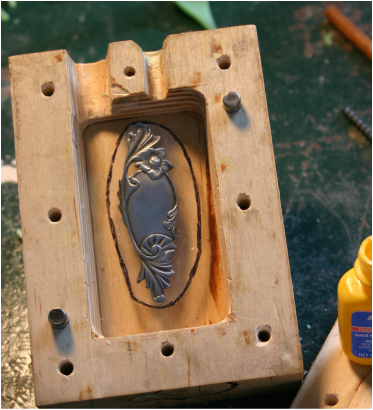
I used progressive sanding stones 100-400 grit to smooth the surface and Jim came in with the gravers to add the detail. To build up the thin edges, and fill the empty spots on the back, I piled some Bondo on the back and sanded it down. For relatively thin, flat pieces like this, I add a piece of box tape to the back that goes beyond the edge because this makes it a million times easier to cut it out of the silicone and, as an added bonus for this jewelry application, it makes for a very slick surface on the back. Use a black Sharpie to mark the outer edge of the tape so you can see it more easily when you are cutting the silicone parting line later on. This whole prep process took at least a couple of hours, but the silver castings should be in pretty good shape and require significantly less time. Step 2: Prepare the mold We use (and reuse) basic mold boxes that Jim made of plywood. They are surrounded on all sides, except for a hole big enough to pour silicone into and a sprue hole. It's important to have enough screws all around to keep the two halves of the box tight and prevent flash when the wax is injected later. For these thumb pieces I inject the wax into the middle of the back, so I put a dowel rod into the back of one of the sides of the box for the sprue and then super glue the piece in position. I want to make sure there is ample silicone surrounding the thumb piece in order to hold up to the pressure of the wax, but I don't want to waste silicone. A rule of thumb is that I have at least 3/8" between the edges and the walls. When I am confident that the glue will hold, I close up the box, and get my silicone ready to pour. Step 3: Prepare the silicone
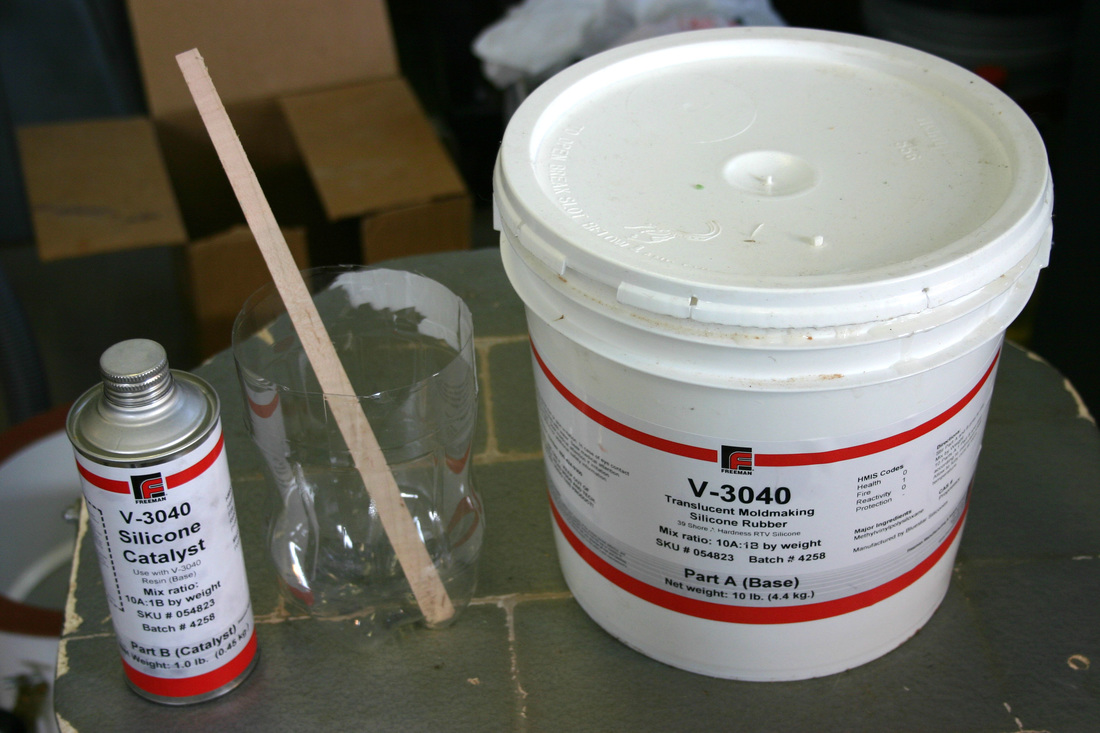
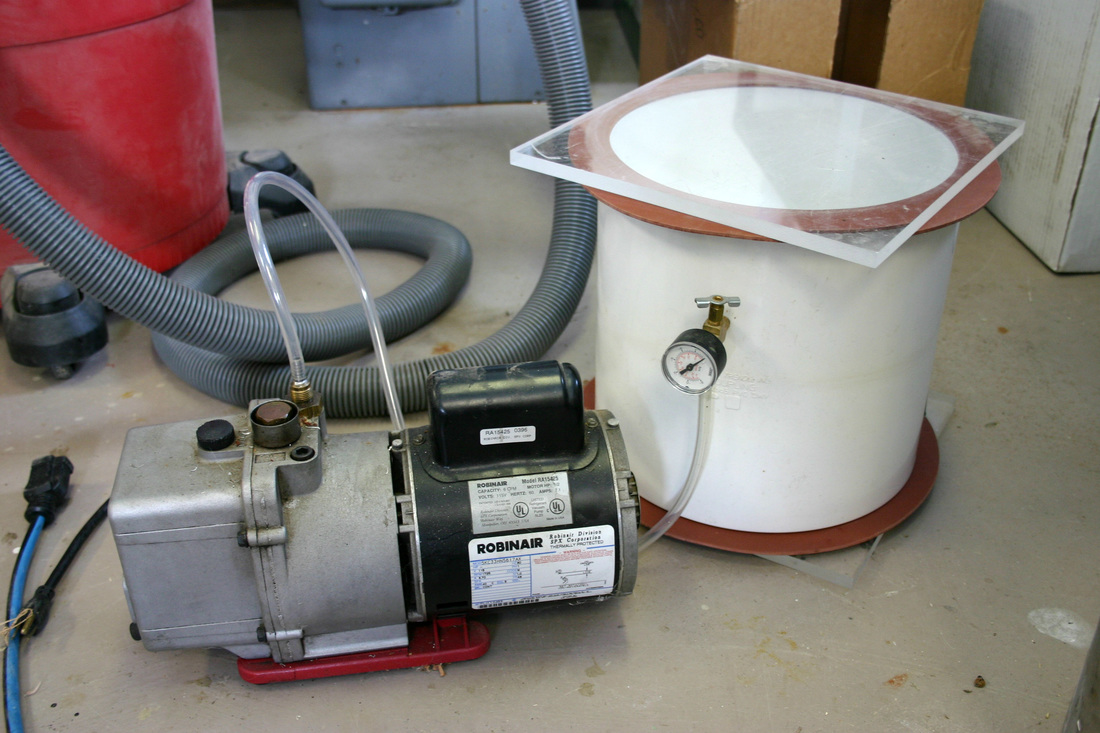
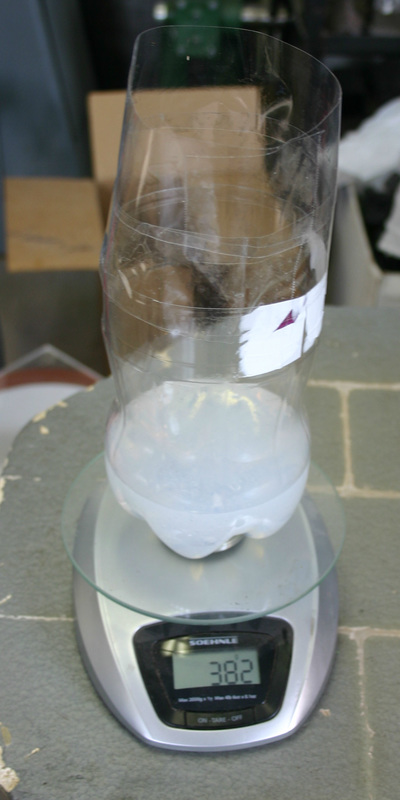
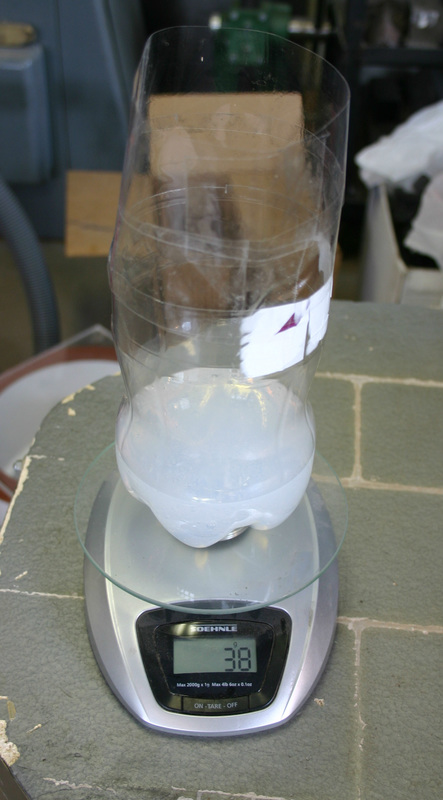
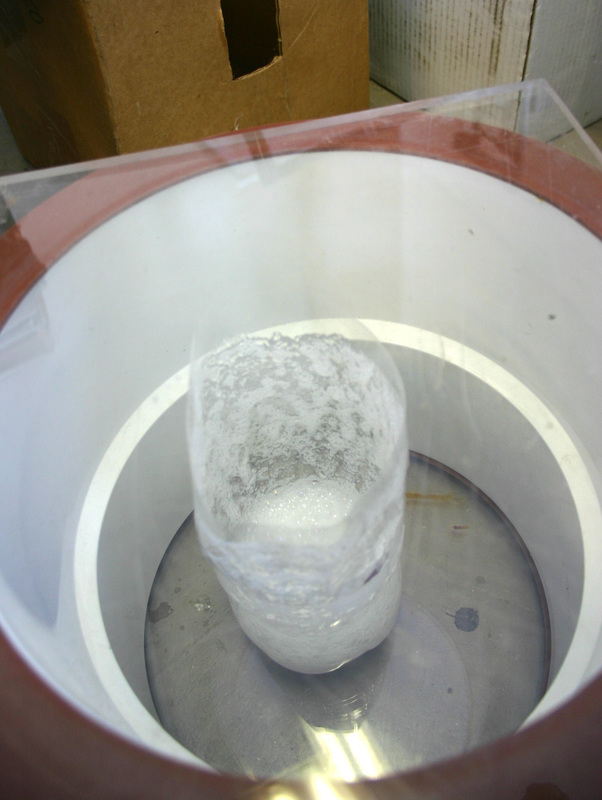
During degassing, the silicone rises quite a bit before collapsing down again. I cut my container shown above too small, so I put a couple of rows of tape around the top for a little additional height to prevent an overflowing mess in my vacuum chamber. I use the scale (accurate to the gram) for accurately measuring my 10 parts A and my 1 part B and then stir for a couple of minutes. The hardener, part B, needs to be added last and shouldn't touch the sides of the container unless it is already mixed with part A. Otherwise, it may get absorbed in the plastic and not mix up with your part A which may prevent your silicone from curing. I use the tare function of the scale to keep it easy. I added 382 grams of A, tared the scale, then added 38 grams of B.
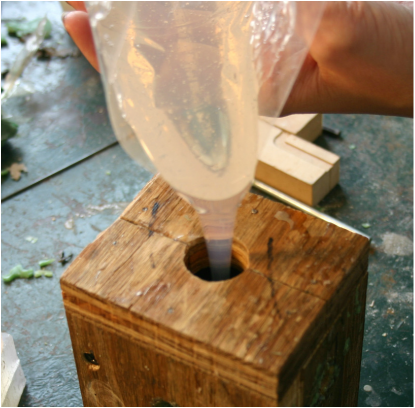
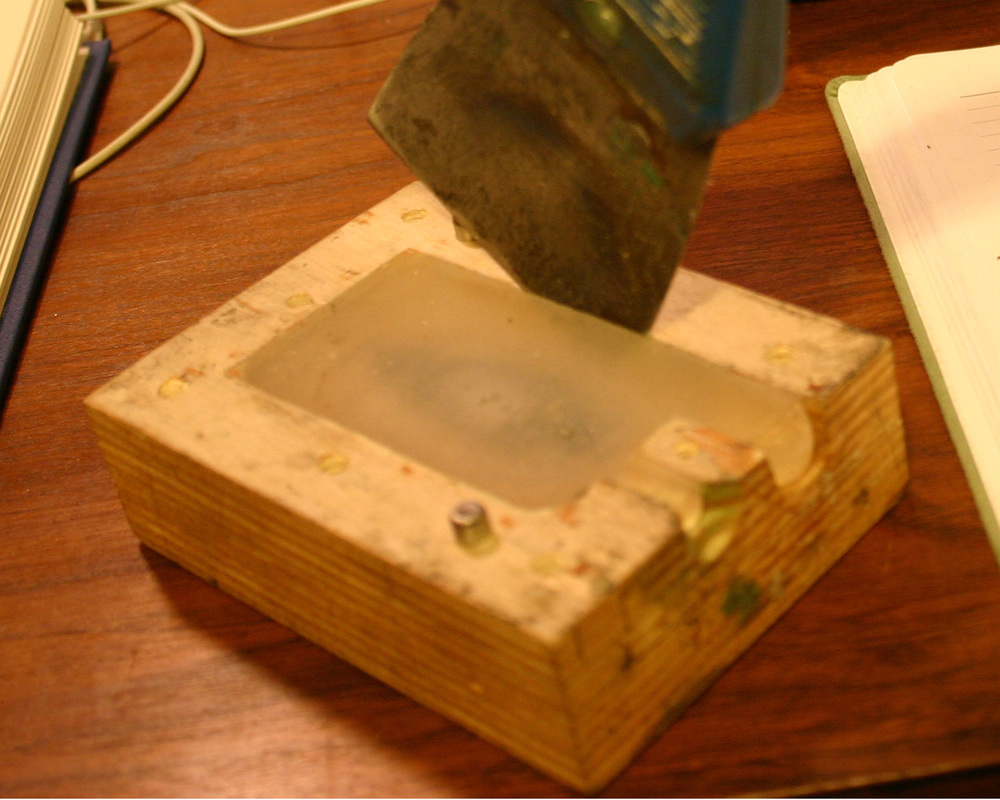
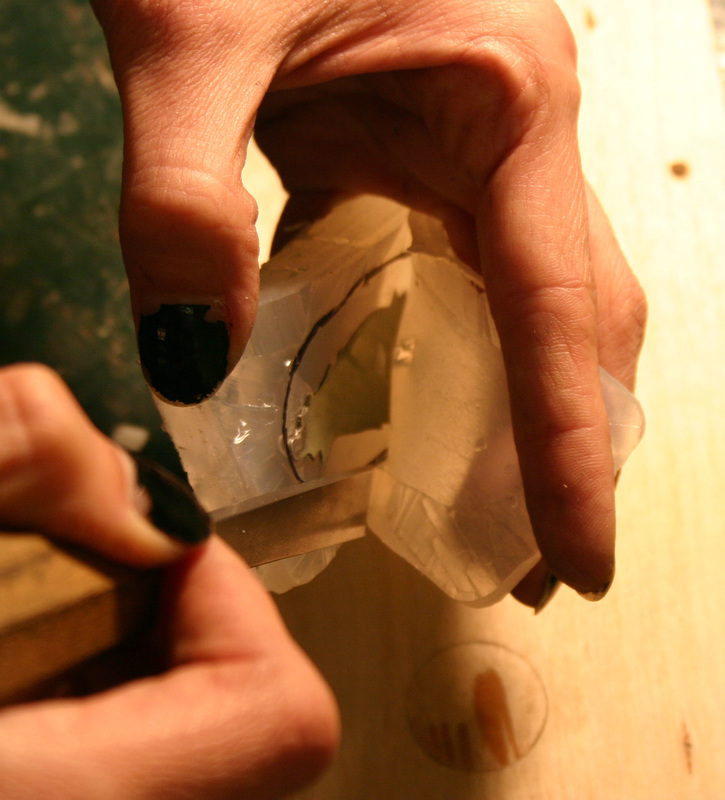
Step 5: Pour the silicone The key during the pouring is to be careful and controlled to keep from adding air. Pour relatively slowly (about 1/2-3/4" stream works best) and into the bottom of the mold if possible. You don't want to pour directly on the part because it may entrap air as it falls from the part to the bottom of the box. Don't stir as you are pouring (adds air) but you may find it helpful to use your stir stick to gently guide the silicone that is very thick and sometimes reluctant to pour neatly. Step 6: Curing The curing process can be sped up with heat-- otherwise it takes about 12-24 hours. We just aren't that patient. We put it in a hot box that is about 100 degrees F for about 6 hours, turning halfway so that both sides get access to the heat source. We once made the mistake of letting it air cure near a cold window and it wasn't cured even after 24 hours. It's very temperature sensitive and the range of acceptable temperatures can be found on the manufacturers data sheet. Step 7: Getting ready for wax Once the mold is done cooking, we unscrew the box and proceed to wrestle the silicone away from the plywood box. The silicone will fill all the little microscopic holes in the plywood and all those tiny tentacles need to be broken. There is a better way to do this with a box made out of something other than plywood, I'm sure, I just haven't taken the time to make it. I use a wide metal scraper to separate the box from the silicone and try to be careful not to slice into the edge of the silicone loaf. Once I manage to get the silicone out of the box, then I need to get the part out the silicone. If I taped and marked my tape, this shouldn't be too bad. The parting line will be easy to find and cut. I use one of Jim's chisels to slice into the silicone, making sure to keep the two parts pulled open as I slice.
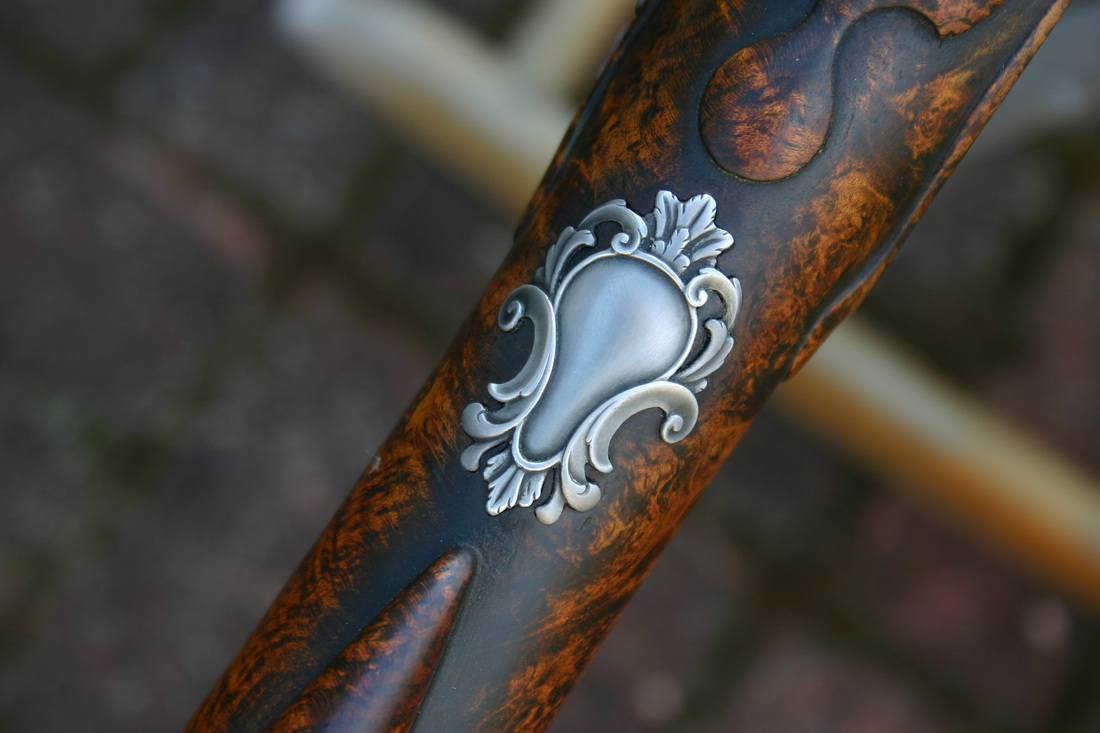
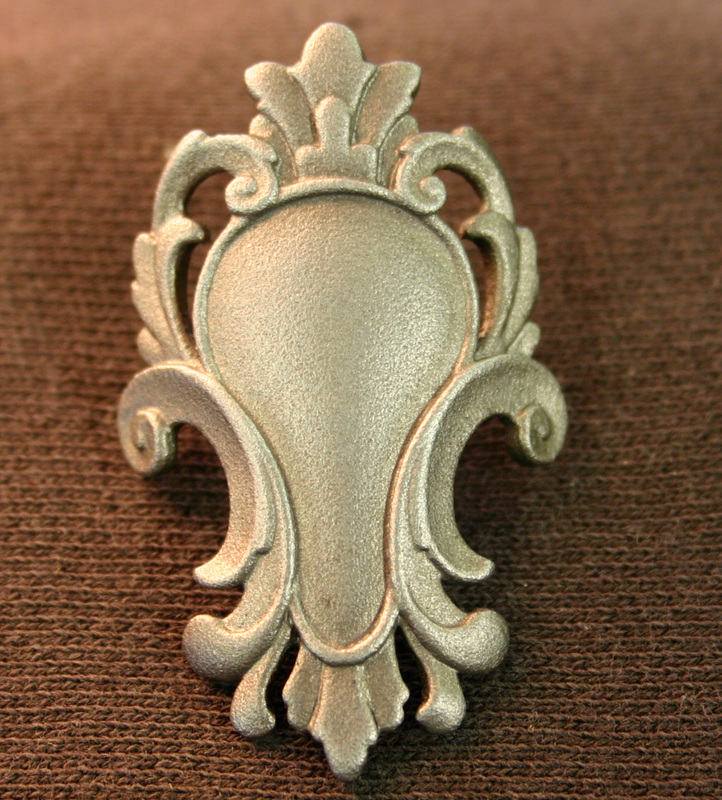
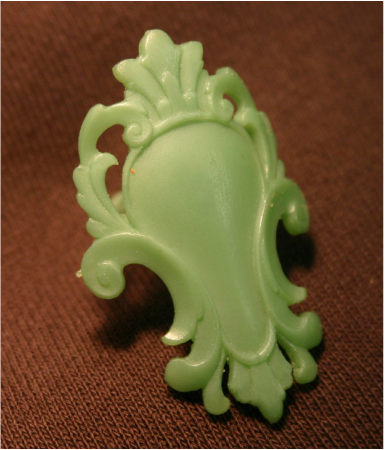
This will keep me from accidentally cutting the same section twice or cutting out chunks. Just follow the black tape line, pull the piece and the dowel out and you have your mold! I rinse the mold, dry it with compressed air, and spray it with silicone to help the wax release. This week, Jim and I will be trying our hands at casting silver pendants in the shop using the lost wax casting method. Until now, we have been sending off our waxes to the foundry. I'm a little freaked by the oxy-acetylene torch, but I have a great teacher and I'm sure I will get used to it in time. We will probably be offering these and other pendants for sale shortly, so if your interested, watch for an announcement. Also, Jim will be back next week with engraving and finishing touches on his burl stocked fowler. Almost done!!! All my best, Katherine Hey there everyone. Time for another post... In this segment, I'll show some of the steps used to make a steel thumb piece for the fowling piece I've been working on. Steel hardware with carved relief can be produced by forming the part and chiseling or by investment casting. Both methods have their merits and drawbacks. In the case of the thumb piece being discussed, I chose to carve a master and investment cast the steel part. After casting, it was cleaned up with gravers, rifflers and polishing stones. The master thumb piece was carved out of high density polyurethane modeling board. The stuff I used was sold under the name "Butter board". It carves well and is a pretty nice material to use.
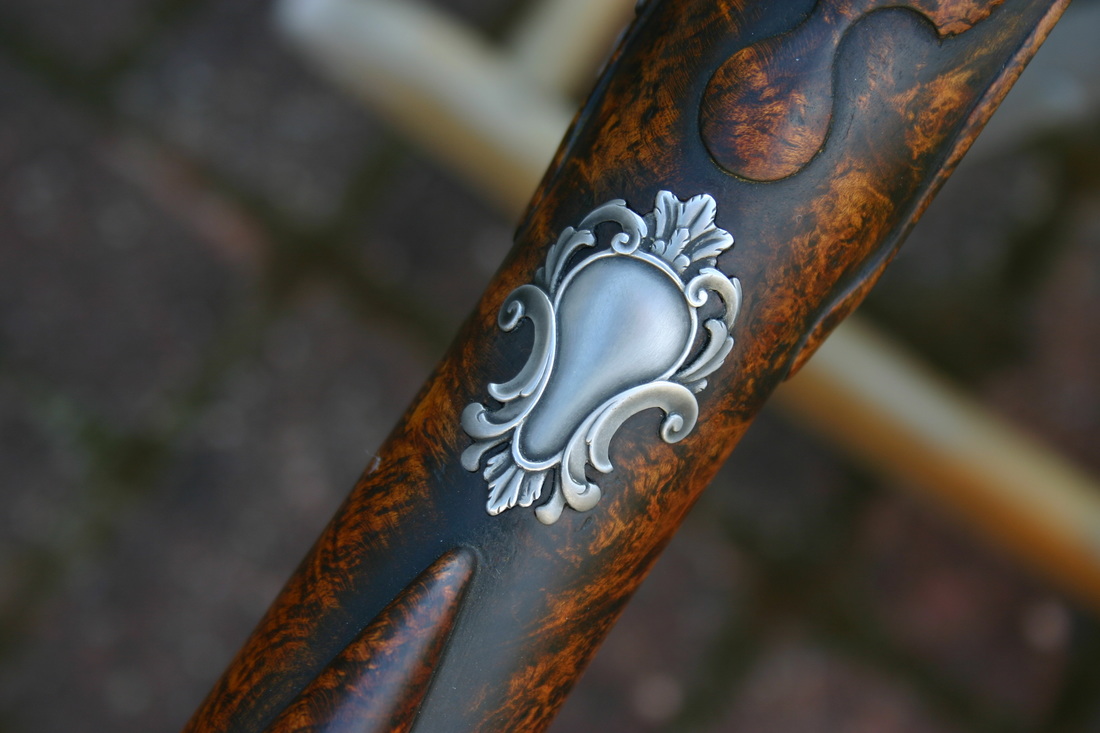
The as-cast surface finish was pretty decent, but still required significant attention to clean up well. In this case I used a combination of riffler files and polishing stones. Gravers were used to add details not included in the casting. This isn't a fast process, but is required to make a cast piece look as good as it can and to emulate a chiseled piece. Finally the thumb piece was inlet into the stock. I realize this wasn't a highly detailed summary, so if you have any questions at all, don't hesitate to ask. I enjoy the feedback. I'd also like to thank everyone for the positive response concerning these blog posts. They take a bit of time and I always seem to be behind with my gun work, but I enjoy sharing a little bit of what I've been working on.
The burl stocked fowling piece will be completed soon. Basically some lock work and engraving left. I'd like to mention that I've built this as a "spec" piece and that it isn't sold. So if you should have an interest, let me know. I'm not certain what I will need for it at this point. I would like to make a final decision after the entire project is complete. It will be nice when it's done and move onto the next one! Thanks, Jim |
AuthorJim Kibler--maker of flintlock rifles. Archives
May 2019
Categories
All
|
Kibler's Longrifles
HoursM-F: 7am - 4pm
|
TelephoneOffice: 330-551-5844
|
|





 RSS Feed