|
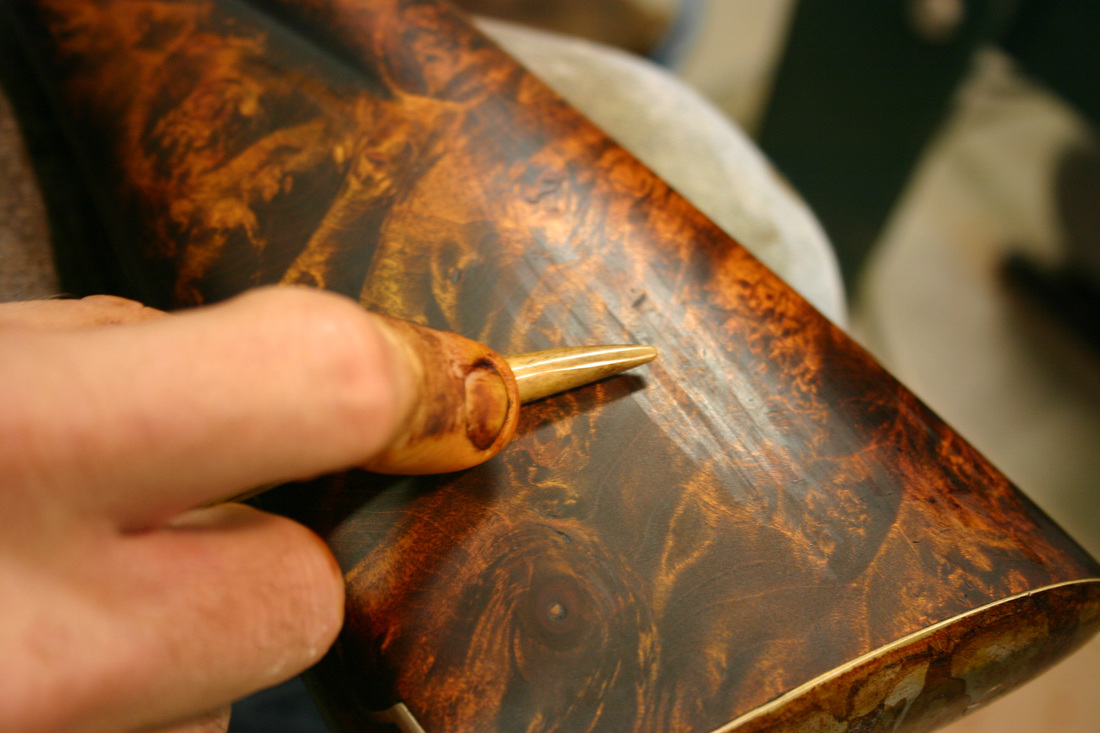
It's been a while since I've last posted here, so I wanted to take a little time to discuss some of what I've been working on recently. Barrel finishing isn't a huge job, or too complex, but something worth talking about. The barrel on the burl-stocked fowling piece project will be the focus of this discussion. This barrel can basically be described as a three stage, octagon to round barrel. The forward most section is round, the middle section is also round, but separated by wedding bands and the breech section is octagon with decorative file work. This is a barrel form typically seen on 17th century smoothbore guns. 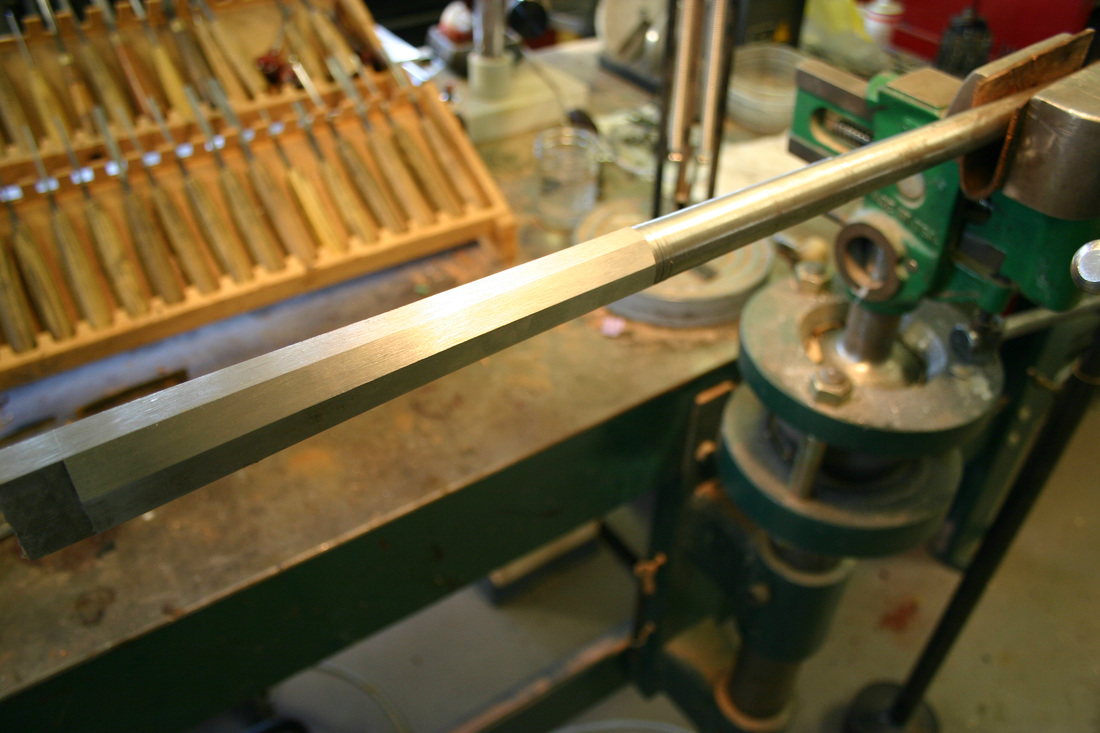 Starting barrel profile Modern barrels with round sections are produced by turning on a lathe. Done properly, this process efficiently produces relatively true round profiles, but also results in a finish with slight waves and imperfections. In order to smooth these out, the barrel must be filed or "struck". Striking a barrel generally refers to using a file length-wise over the barrel surface to create a more consistent surface. This process is especially important for barrels with "swamp" or curved profiles since these shapes are typically comprised of several straight sections blended together. I have found a Vixen file to be useful for this process. A friend has also suggested a 6-8" section of low angle lathe file to work very well. In practice the file is held against the barrel in a lengthwise fashion and pushed across this surface. This process is repeated around the barrel perimeter in order to accommodate the round cross section. The file will contact the high areas and cut them down to create a relatively smooth contour. 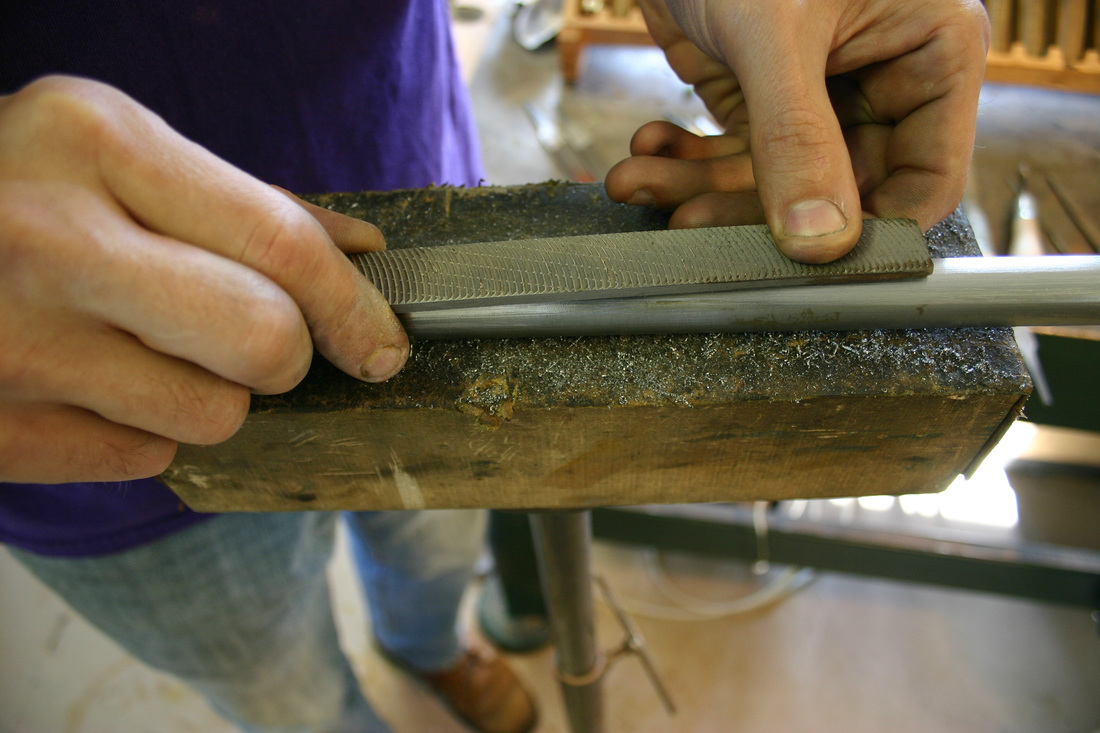 Striking barrel with Vixen file After striking the barrel, I use a mill file and draw file the surface. This improves the finish. Draw filing is basically a process where a mill file is held more or less perpendicular to the barrel axis. It can be pushed or pulled and results in shavings produced from a shearing cut. Finishes from this technique are typically pretty good. 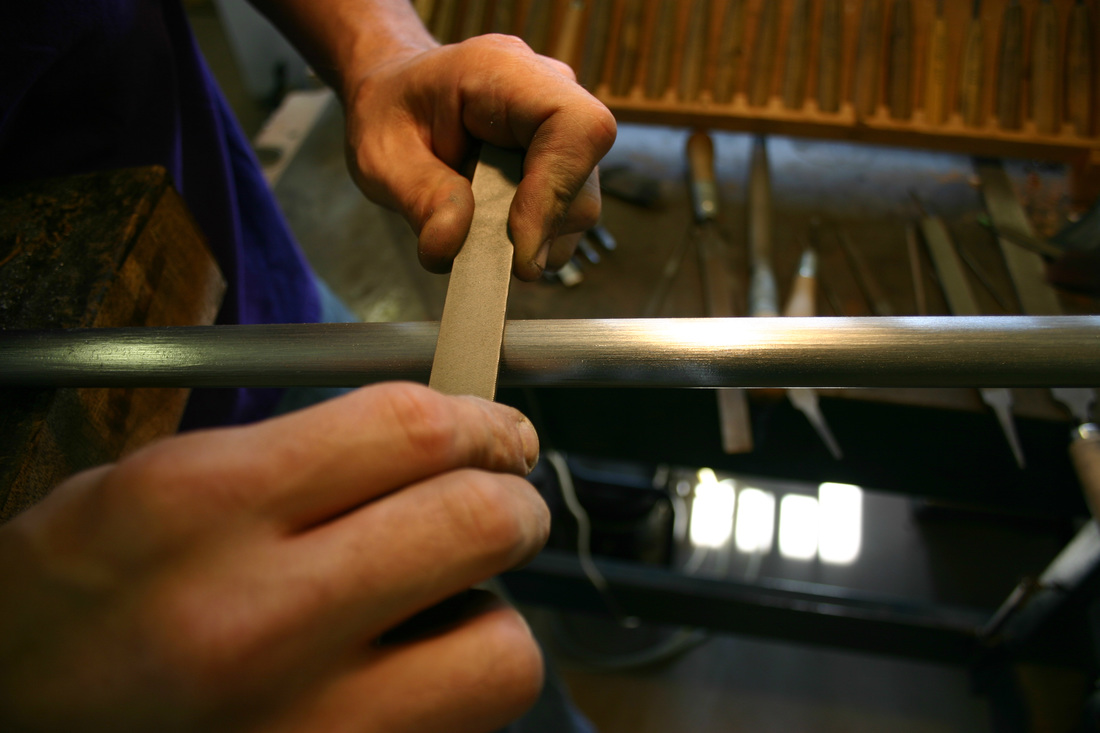 Draw filing barrel The next step is to further smooth the surface using abrasive paper wrapped around a flexible backer material. I find finishing to 320 grit sufficient for a surface left bright. 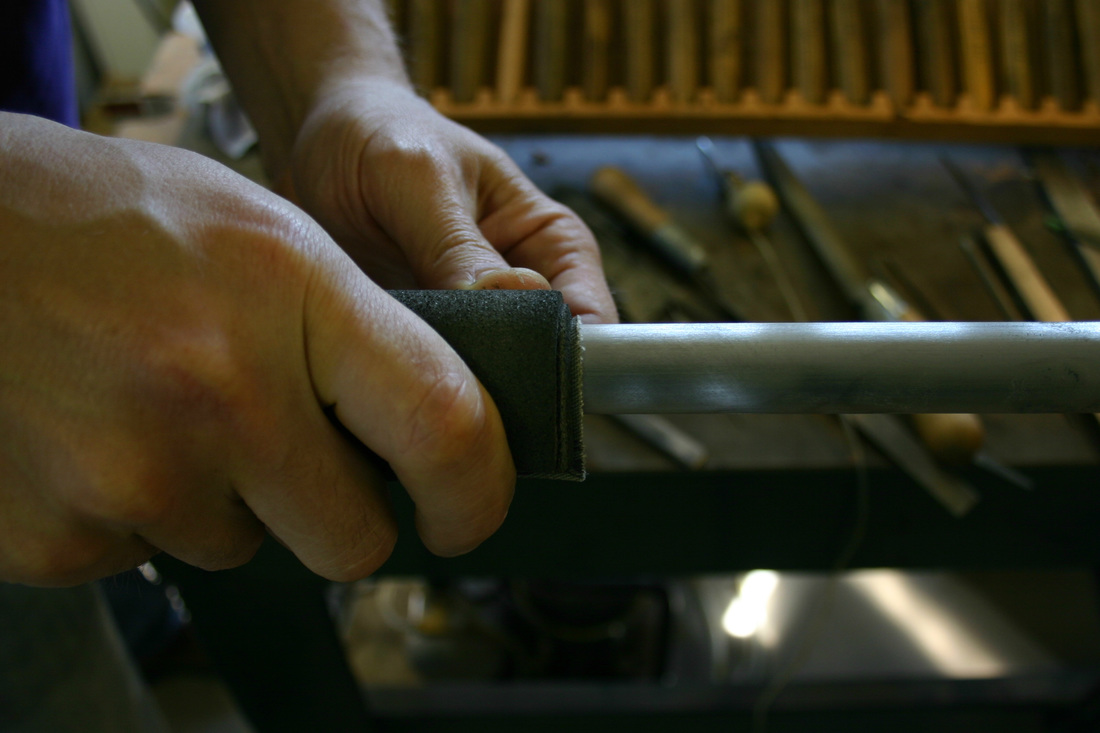 Sanding barrel Finally, working the surface with Scotch-Brite abrasive pads evens things out a bit and improves the finish. A few notes about striking a barrel... A round barrel left bright will show even the tiniest waves or imperfection from the turning process, so striking is very important. On barrels with significant profile, a thinner file can be used so it will bend to shape. Striking is also useful for octagon barrels where straight segments don't blend well. As can be seen, the breech section of the barrel shown has a section where the corners of the octagon are removed, creating the appearance of a 16 sided region. Again, this is typically seen on 17th century work. 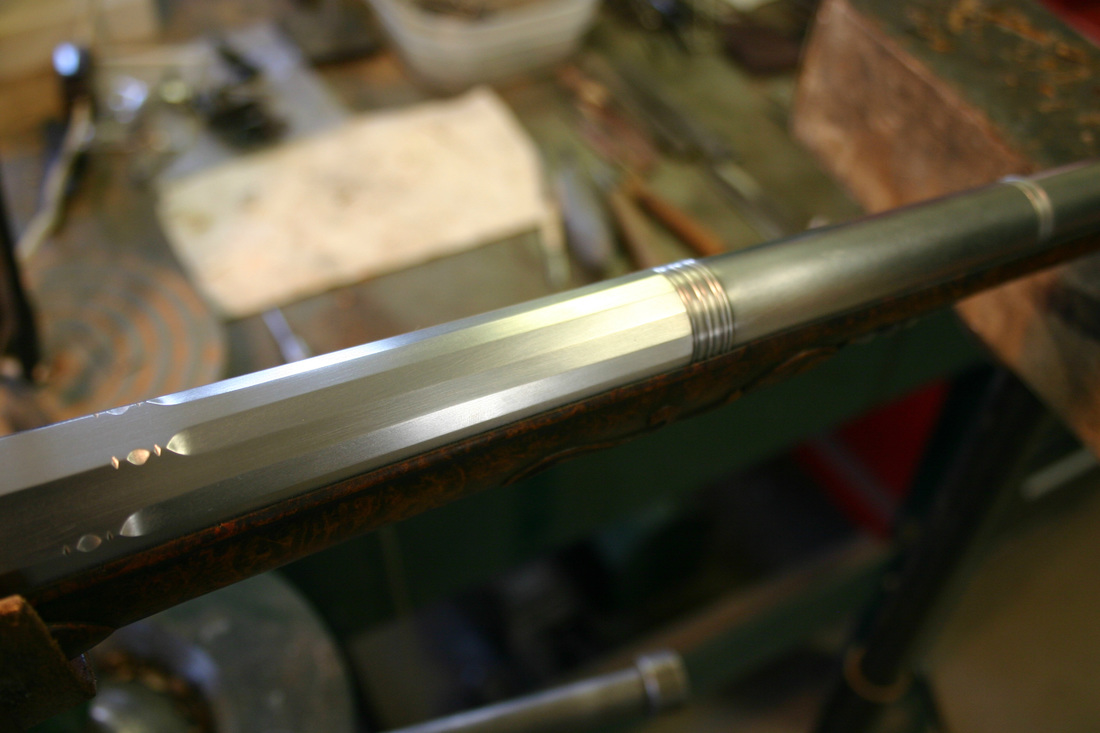 A front sight was added to this barrel by cutting a recess and slightly swaging material around the sight, locking it in place. In practice the sight is slightly upset on the bottom surface allowing for a good mechanical joint. This fowling piece barrel is relatively thin, but this process can still be used with care. In this case the sight is iron and the form was taken from a 17th century design by Andrew Dolep. 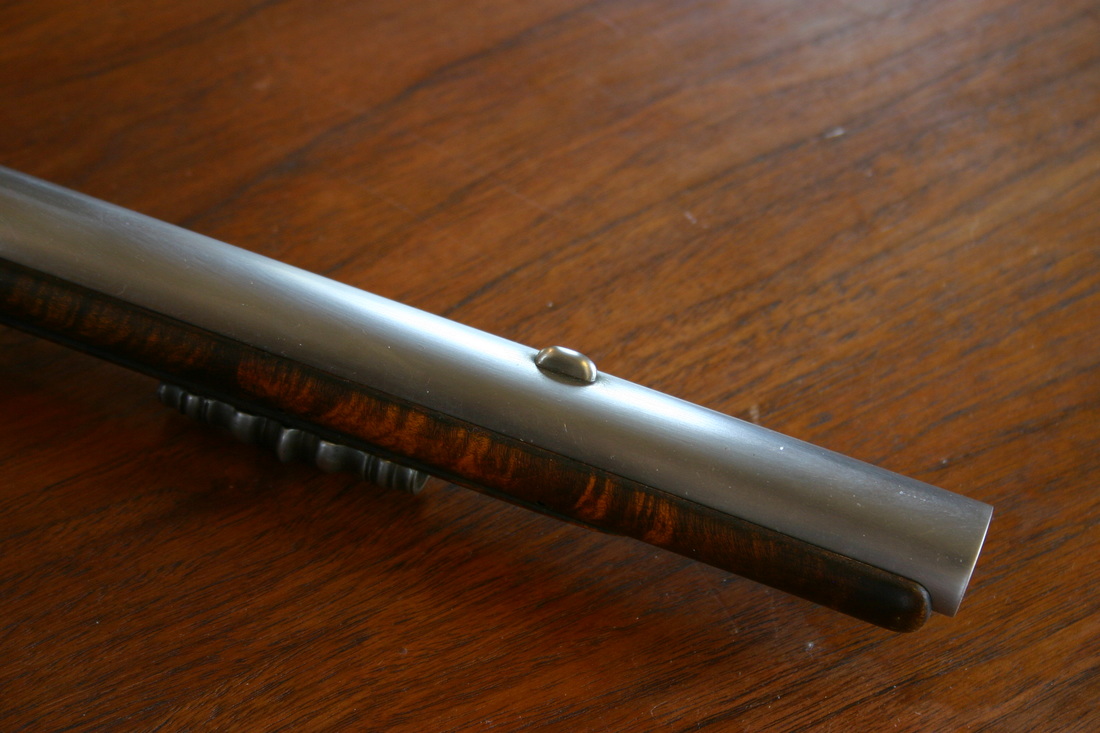 Front sight As an aside, here's a final shot showing the sideplate for the burl-stocked gun. It's interesting that the serpentine sideplate first showed up in Paris around 1670 or so, but continued to see use on trade guns until the second half of the 19th century! By the very early 18th century, it had become out of fashion on most other work.  Serpentine side plate Well, that's all for now. Lots of work to get done as always. Questions and comments are always welcomed.
Jim
Comments
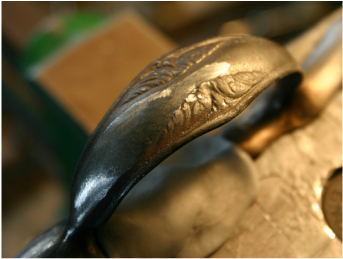
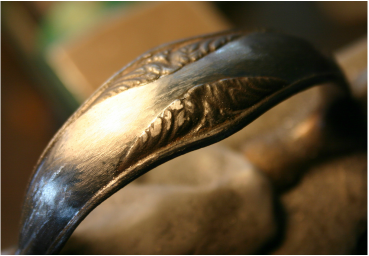
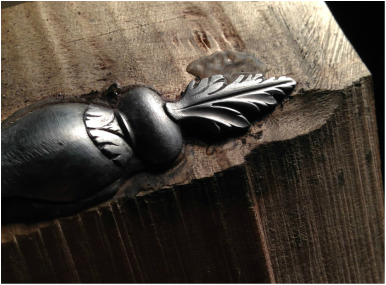
For the last several days, I've been working on shaping and polishing hardware on the 17th century fowling piece introduced in the last post. Some of the hardware was copied from an original gun by Herman Bongarde of Dusseldorf, Germany and some is my own design created from masters I produced. In this segment, I will show some of the steps relating to finishing a cast guard with relief decoration. Filing and polishing standard hardware void of relief decoration is pretty standard fare and doesn't require a lot of special consideration. It of course requires filing and then polishing with successively finer abrasives. These abrasives can be in the form of paper, stones or loose particles. With relief work, the process becomes a bit more challenging. Background must be carefully worked with small files, stones or special purpose bent files or riflers. The first choice is always a standard file, but these will only access certain areas. If these aren't suitable, stones or special purpose tools must be used. After the background is cleaned up, attention is paid to the actual relief decoration.
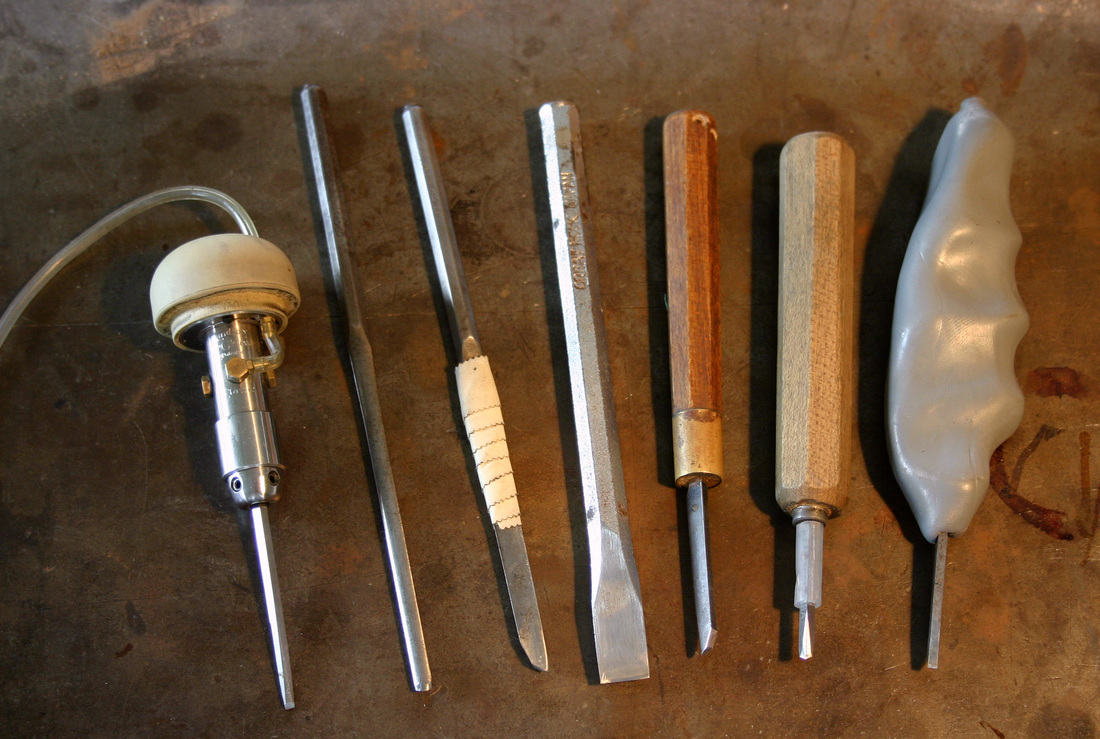
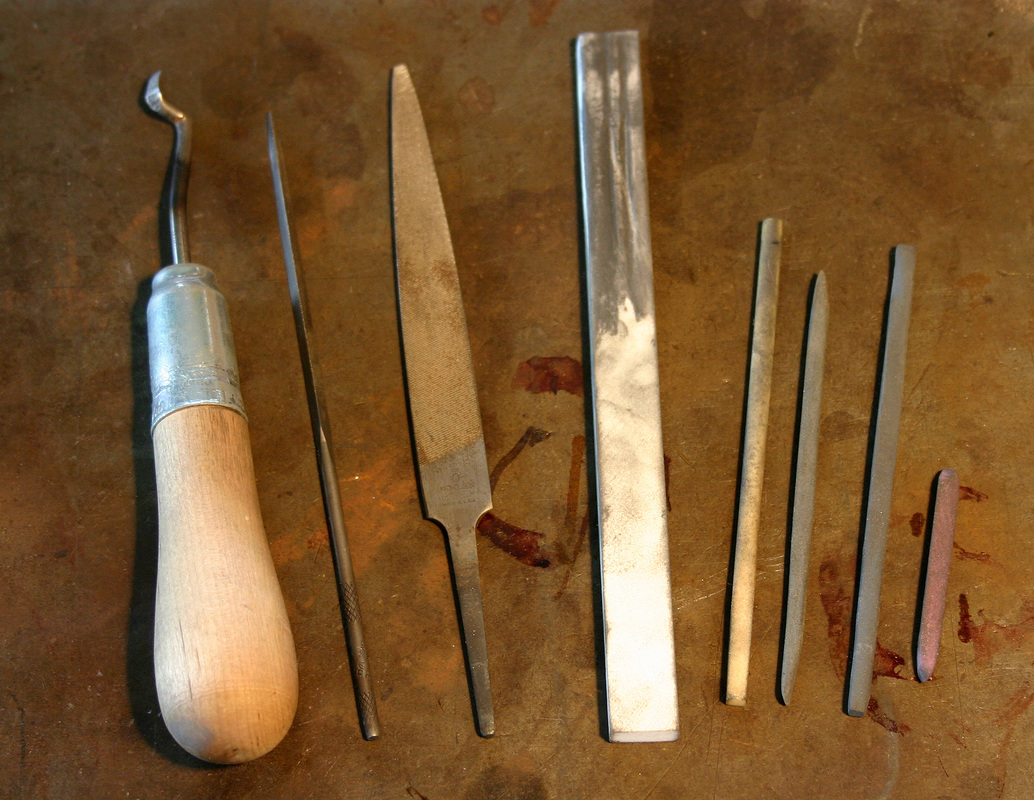
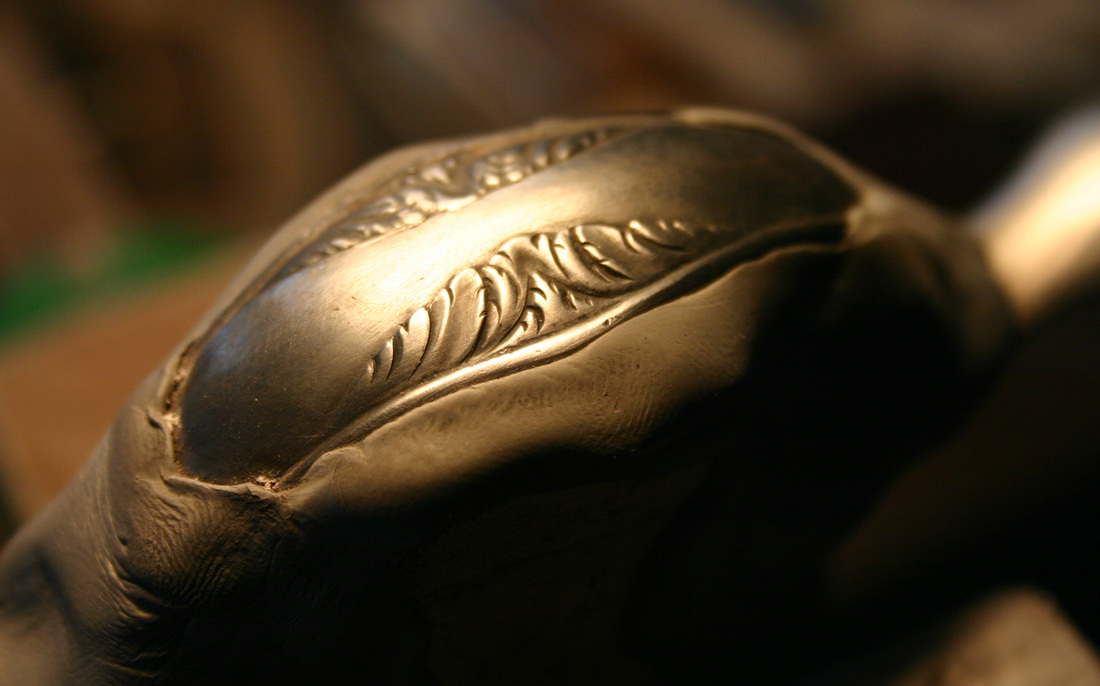
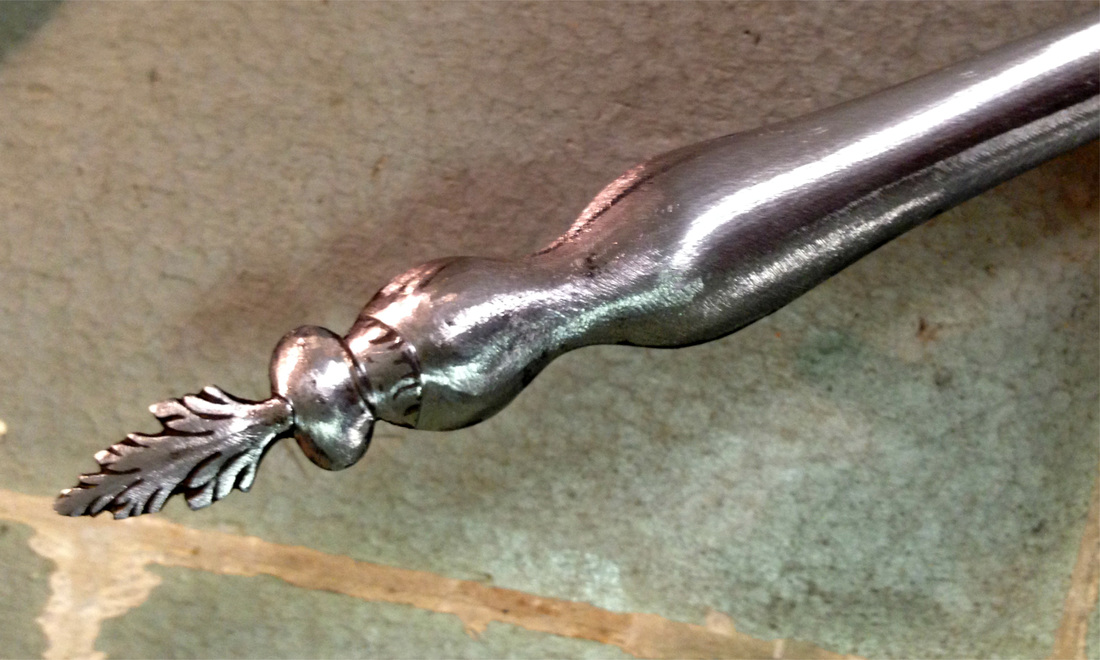 Rear finnial as cast In order to re-cut the relief designs, gravers and die-sinker chisels of various shapes are used. Squares, flats and several different radius bottomed tools. The process is very similar to carving in wood, only different material removal techniques must be used.
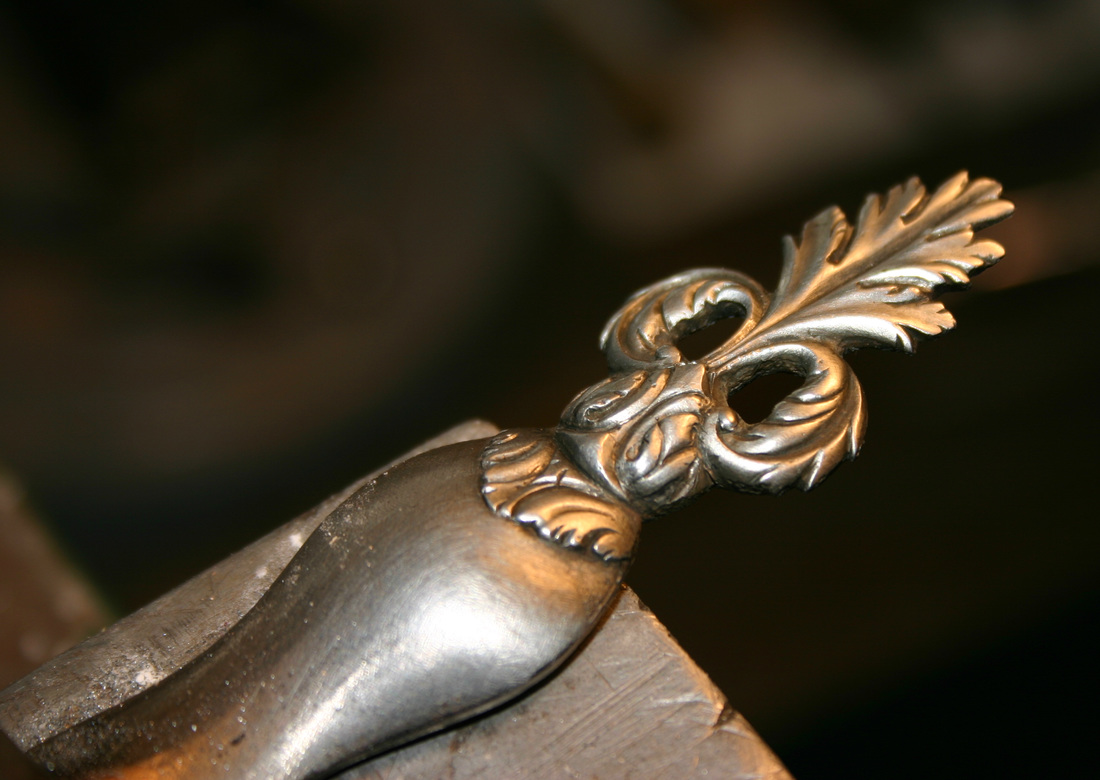
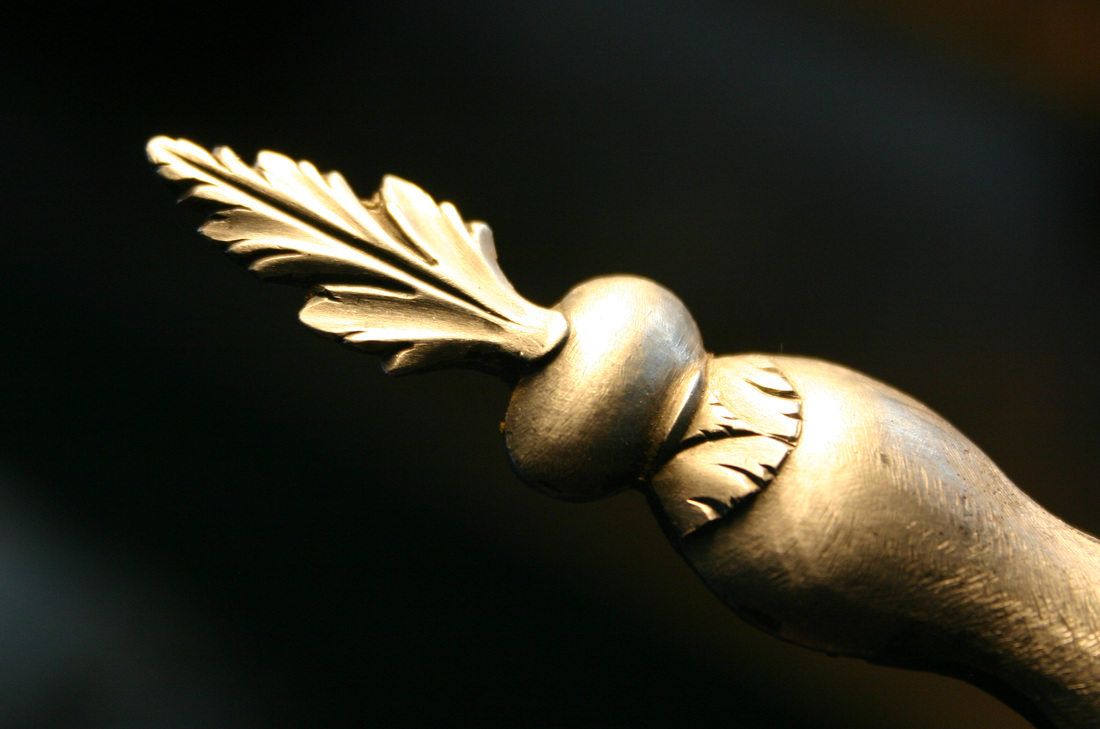
After chiseling, some areas can be cleaned up with fine files and in other areas stones must be used. After stoning, loose pumice can be used as well as woven abrasives such as Scotch-Brite. Finally the entire piece is darkened with cold blue and then re-polished to darken low spots and accentuate the forms.
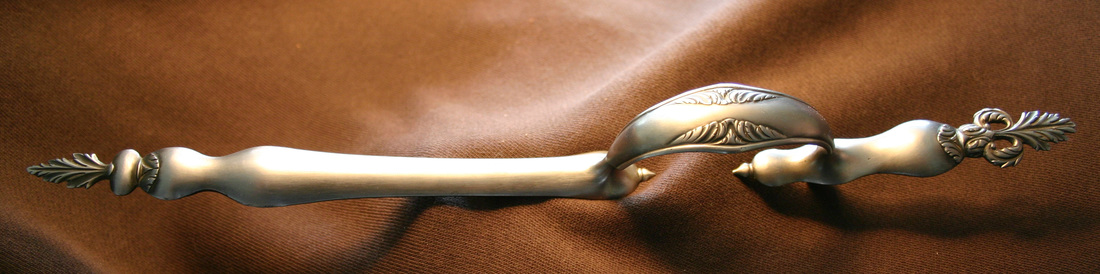 Completed guard The guard shown will be engraved with borders and perhaps some additional work on the grip rail and forward extension. As always, if there are any question or comments I'd love to hear from you. Thanks for all that have subscribed to follow these posts. Jim UPDATE: There have been a couple of questions that I'll talk about. The gray stuff shown in the above photo is a plastic that softens with temperature. It can be heated and formed around parts to hold them in place. In this case it's around the guard and a piece of wood clamped in the vise. For chisel work, it's important that the piece be held pretty solid. The little stones shown in the blog post are used quite a bit for polishing after chiseling. I bought mine from Congress Tools, though Geiswensells similar products. Some of my favorites are the "Y-oil", "regular" and "supersoft". I also have some brown ones with a reinforcing fiber that work well. Can't remember their name. They sell some called "super ceramic" that I would like to try. I've heard very good things about them. The relief work on the Bongarde guard was not exactly what I wanted, so I decided to reshape things to some degree. The original decoration was rather weak in definition and I couldn't help but to get the feeling some of it might have been formed with forging dies.
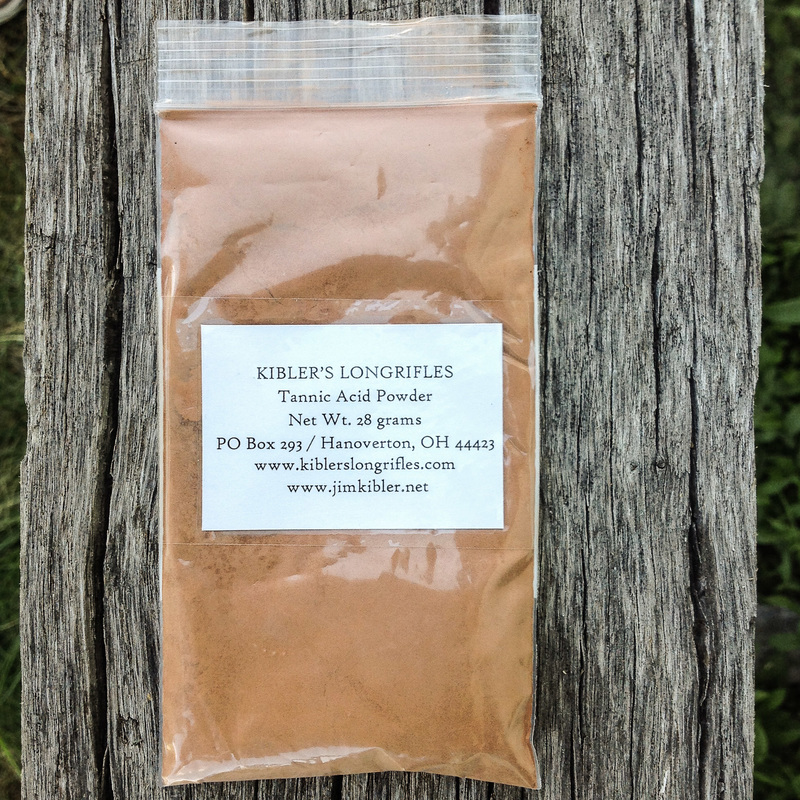
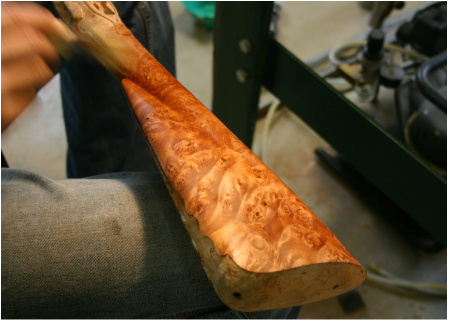
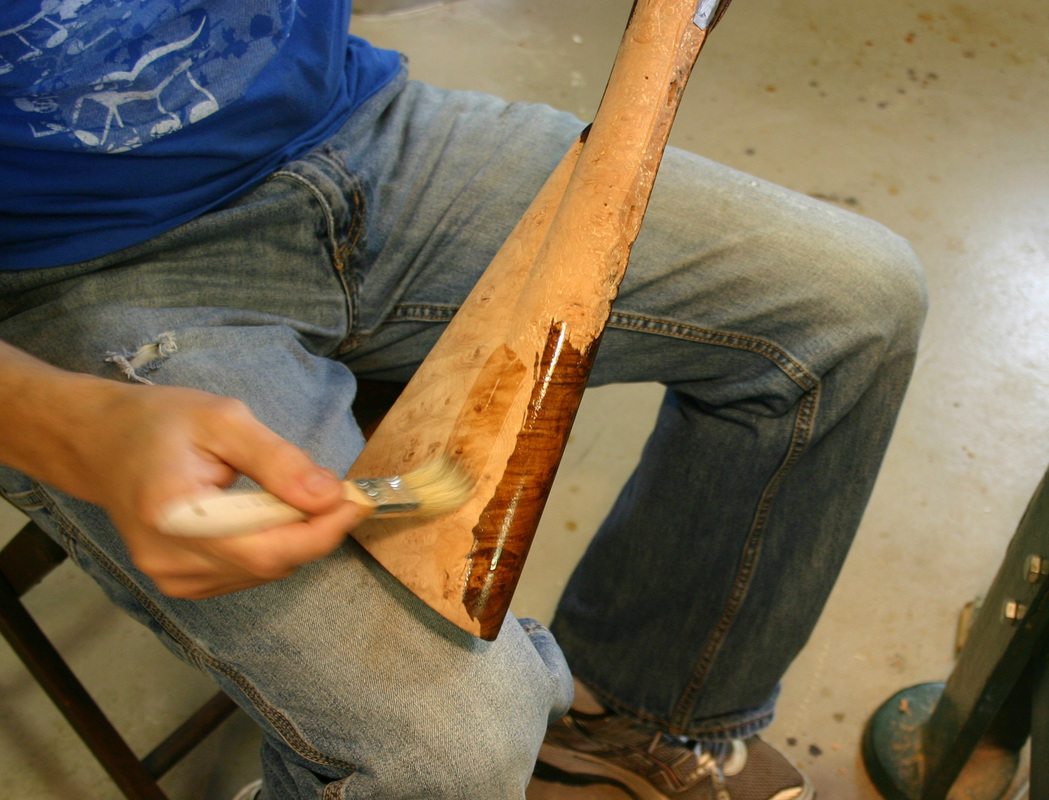
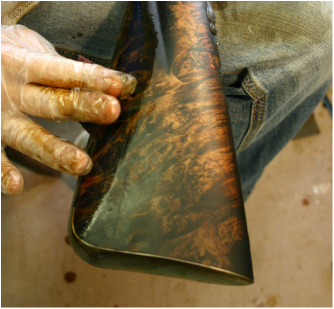
Hello Everyone. As promised, I will be posting periodically to my blog. So here it goes... For the last while I've been building a late 17th century or early 18th century fowling piece stocked in burl maple. Burl maple was quite fashionable for gunstocks from around 1670 until 1710 or so. It is fairly rare wood and somewhat difficult to work. It's prone to having a lot of defects, voids etc, but it's beauty is unmatched in my view. For a little more information on burl, check out this article on wood technology that Gary Brumfield put together:  Magnificent Burl in Berea, Ohio I have experimented quite a bit with finishing in order to try to bring out the most figure. I've tried dyes, ferric nitrate (aquafortis) etc. but never seemed to get the results I was hoping for. Many burl stocked original guns I've examined have been finished in a manner to create dramatic contrast in the wood figure (see the Cookson fowling piece and Italian carbine shown in the "Originals" tab). For some time I've heard about the use of tannic acid to accentuate maple figure. This is used in conjunction with ferric or iron nitrate in the staining process. In practice a solution of tannic acid in water is prepared and applied to the bare stock. After this dries, the iron nitrate is applied. A reaction between the iron nitrate and tannic acid occurs forming an iron tannate compound which is very dark in color. After this step, the entire stock is quite dark.
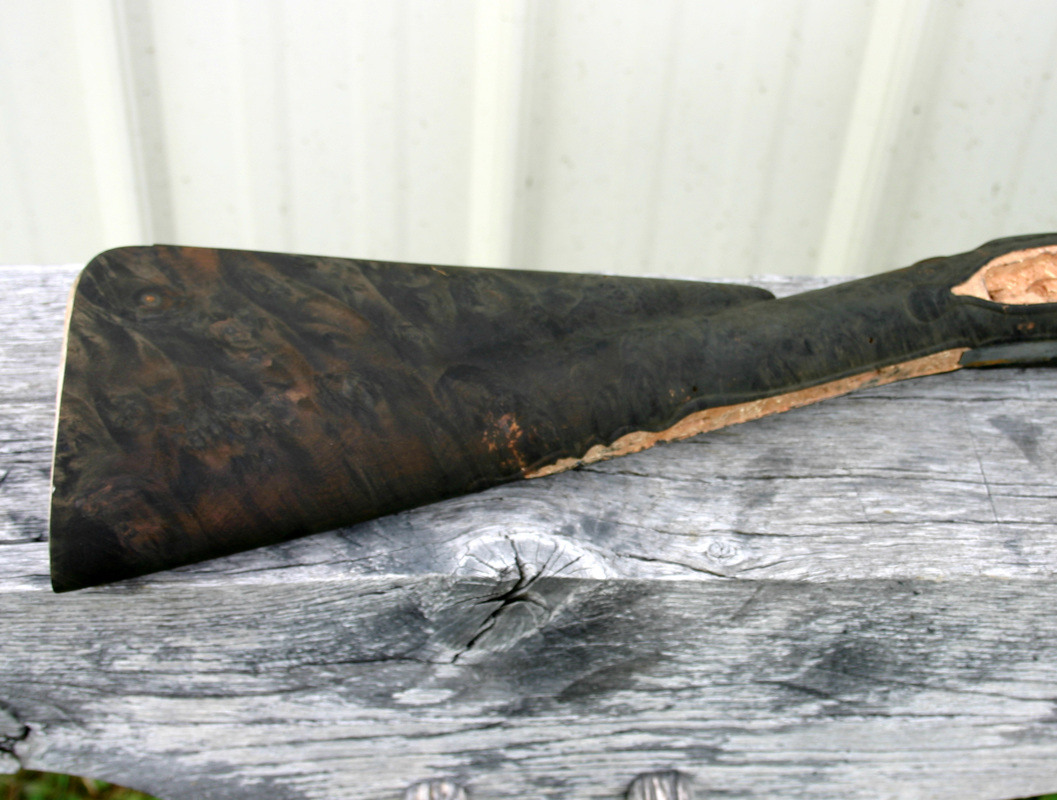
Next comes abrading the stock to work the stain off the long grain wood to bring out the figure. This process relies in the varying grain direction of burl wood. The stain can be fairly easily removed from the long grain regions, but is quite permanent in the end grain areas since the stain is absorbed pretty deeply. I found it best to use a combination of fine sand paper and woven abrasive Scotch-Brite pads. It was also helpful to use oil or finish during this process, to keep the abrasives from becoming plugged and to evaluate the progress.
!After the stock was worked back sufficiently, I applied stock finish mixed with a warm amber colored aniline dye to give a slight color to the long grain regions of the wood. After a bit more finishing here is how the stock looks. Pretty dramatic if I say so myself! On a final note, If you would like to receive an email notification when additions to this blog are posted, please sign up!
If anyone has any questions or comments I'd love to hear from you. Jim |
AuthorJim Kibler--maker of flintlock rifles. Archives
May 2019
Categories
All
|
Kibler's Longrifles
 RSS Feed
HoursM-F: 8am - 6pm
|
Telephone |
|